Custom Desk
Moving out of a dorm and into an apartment, I needed to get furniture. Following the path of several of my friends, I wanted to build a custom desk.
I had a few requirements/desires:
- Two spaces; one for computer use and one for workbench/tinkering.
- Upper shelf for additional storage/easy access to items like soldering irons and oscilloscopes.
- L-shaped to better utilize space in my room.
Taking these into account, I hoped into Onshape and whipped something up:
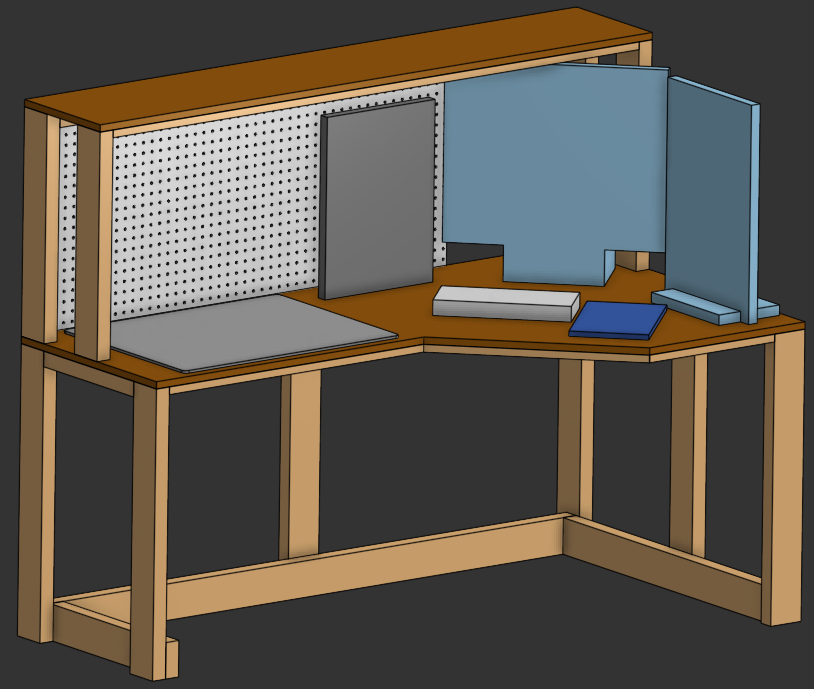
The document can be accessed here.
Some fun design notes:
- Used Onshape’s
Configurationsfeature to make creating 1x4 and 2x4’s very easy when assembling the desk.
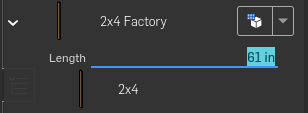
- 2x4’s connecting the legs together at the bottom of the legs. This prevents wobbling and makes the overall structure stronger.
- Simple models for crucial items (monitors, keyboard, mousepad, cutting mat, etc.) to help with modeling.
After a trip to Home Depot, we have plenty of wood!
Plywood got cut carefully using a circular saw, but with the top side up you may notice something wrong…
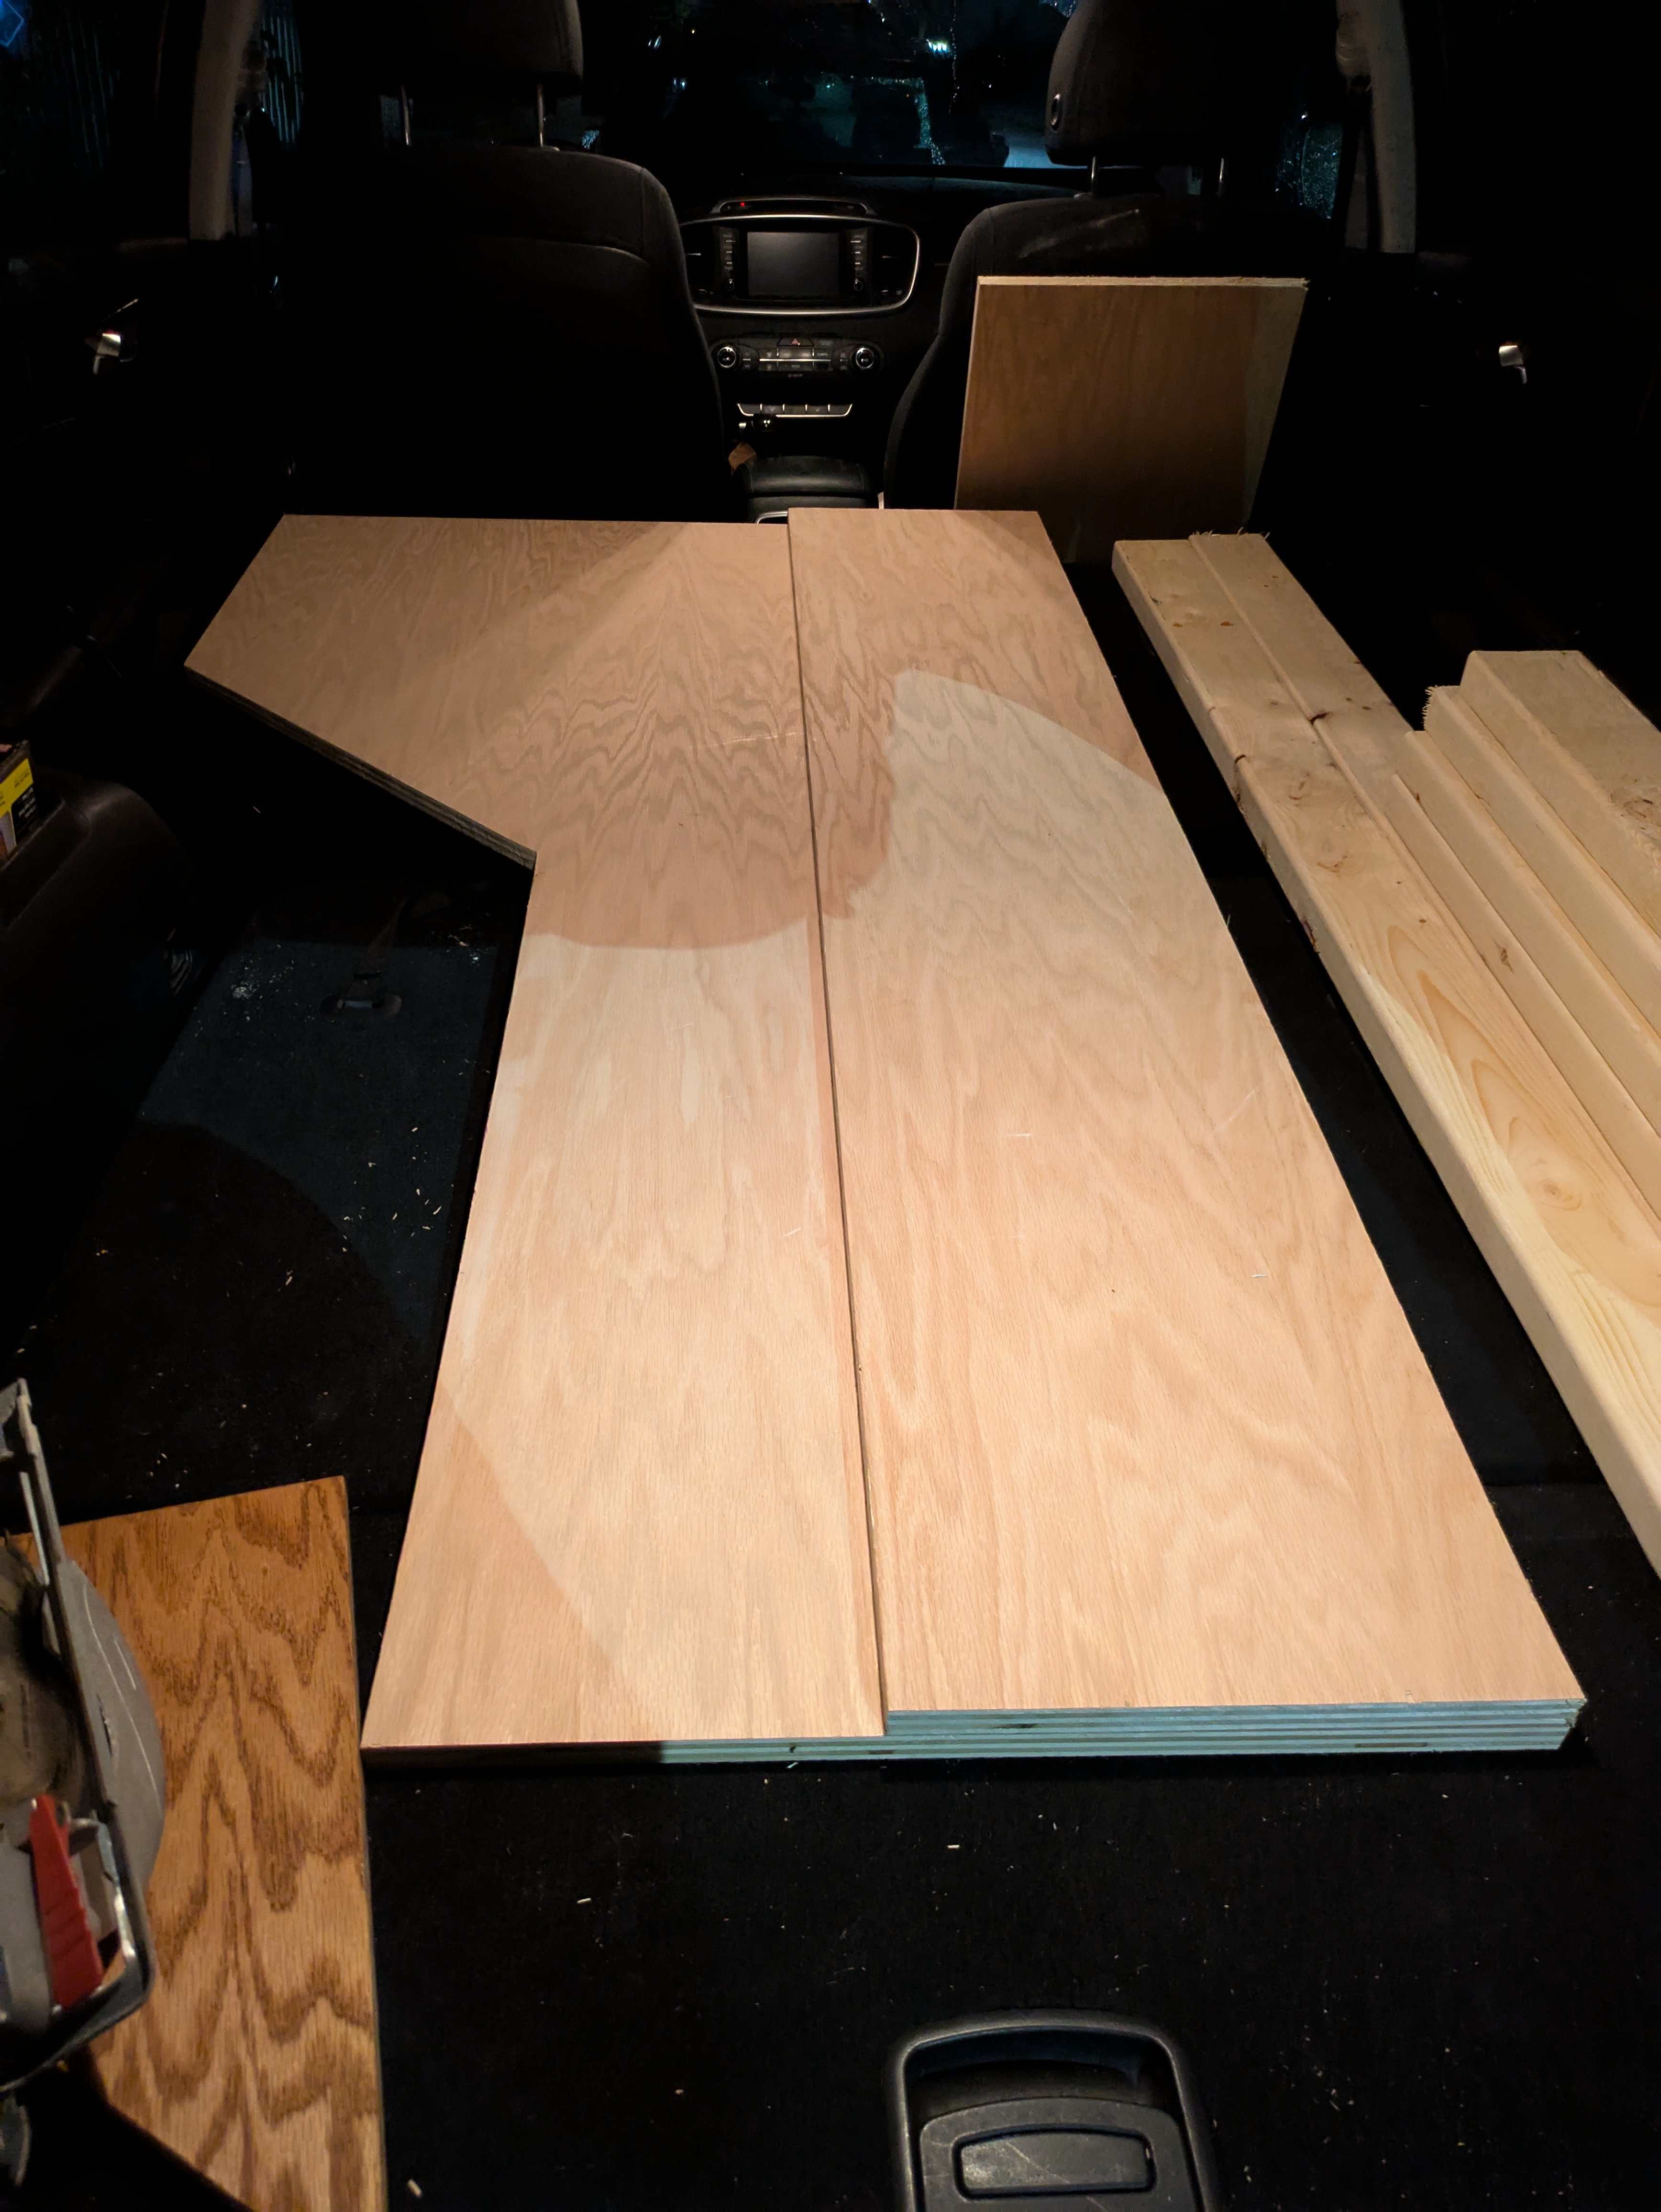
The main desk slab got cut backwards!
How did this happen? I did the right thing and did all my markings on the bottom side of the wood. However, I did my markings based on looking at the top side. This is a mistake as old as time, and made my ideal desk orientation a little off.
After some consideration, I decided to end up just building the desk backwards. It is what it is.
After some sanding and routing work, the top surface is finished with a oil-based stain and sealant. This same finish was also used on the upper shelf.
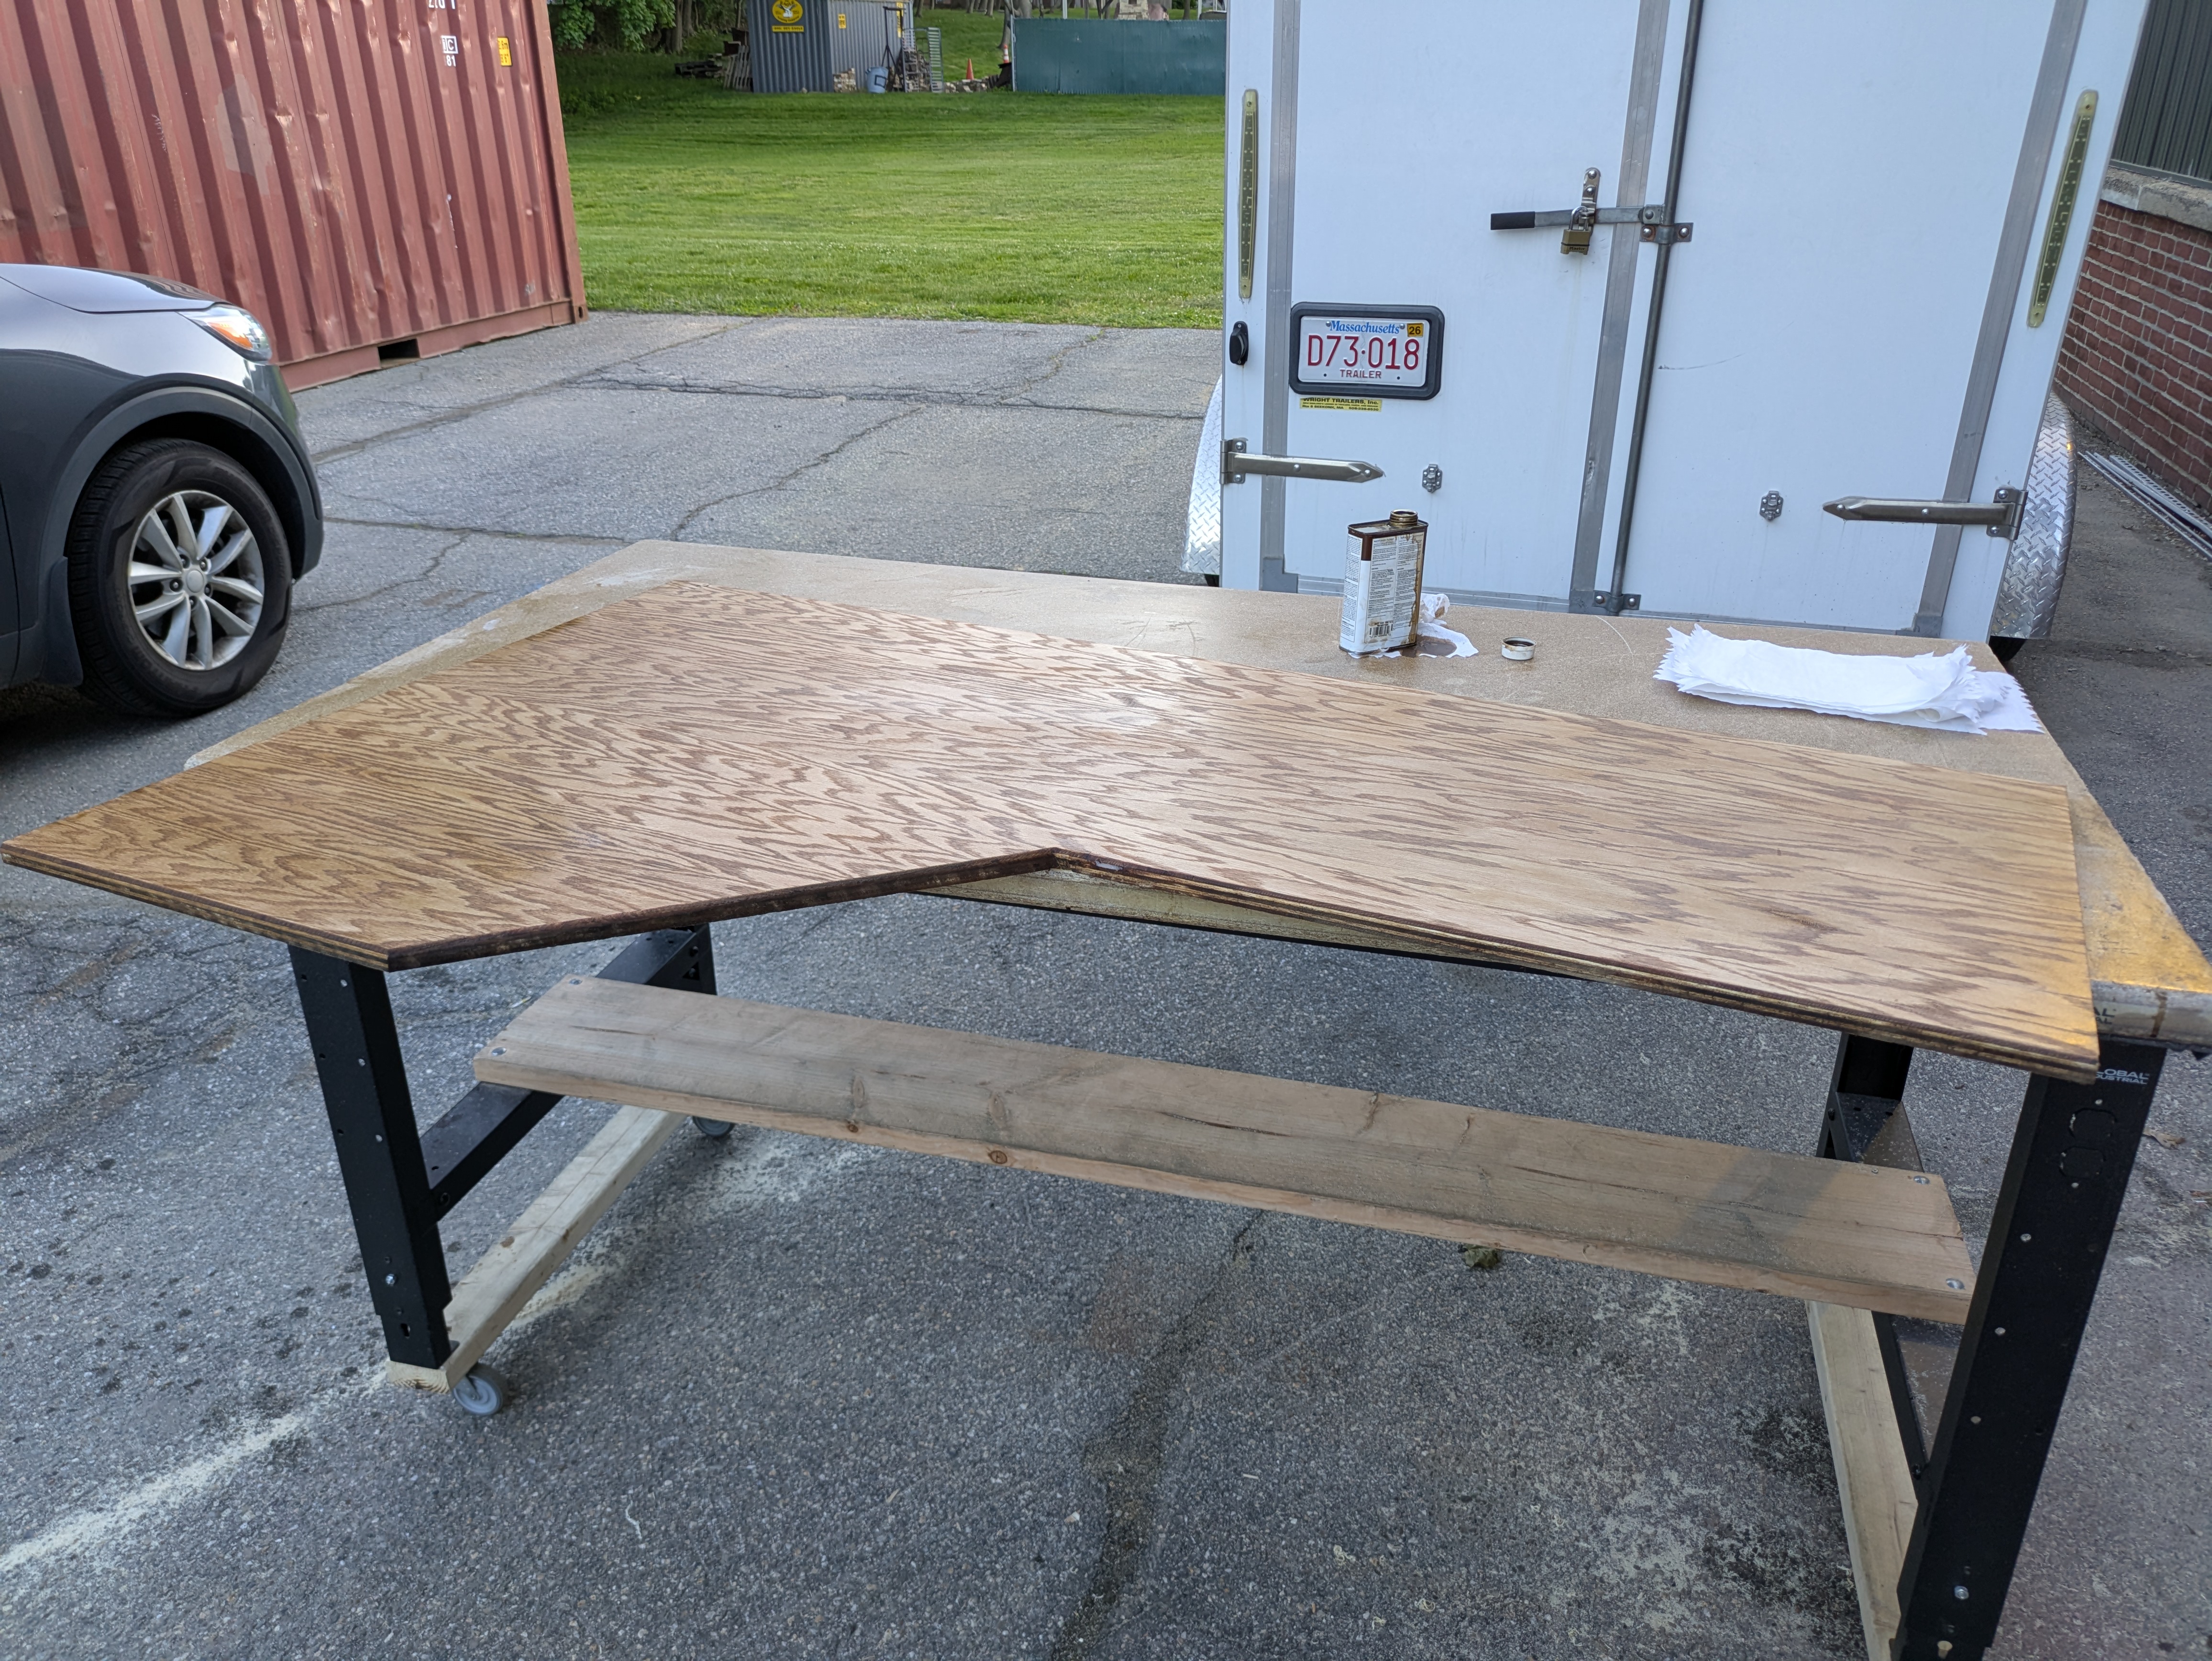
Some time later, I managed to get the whole thing assembled!
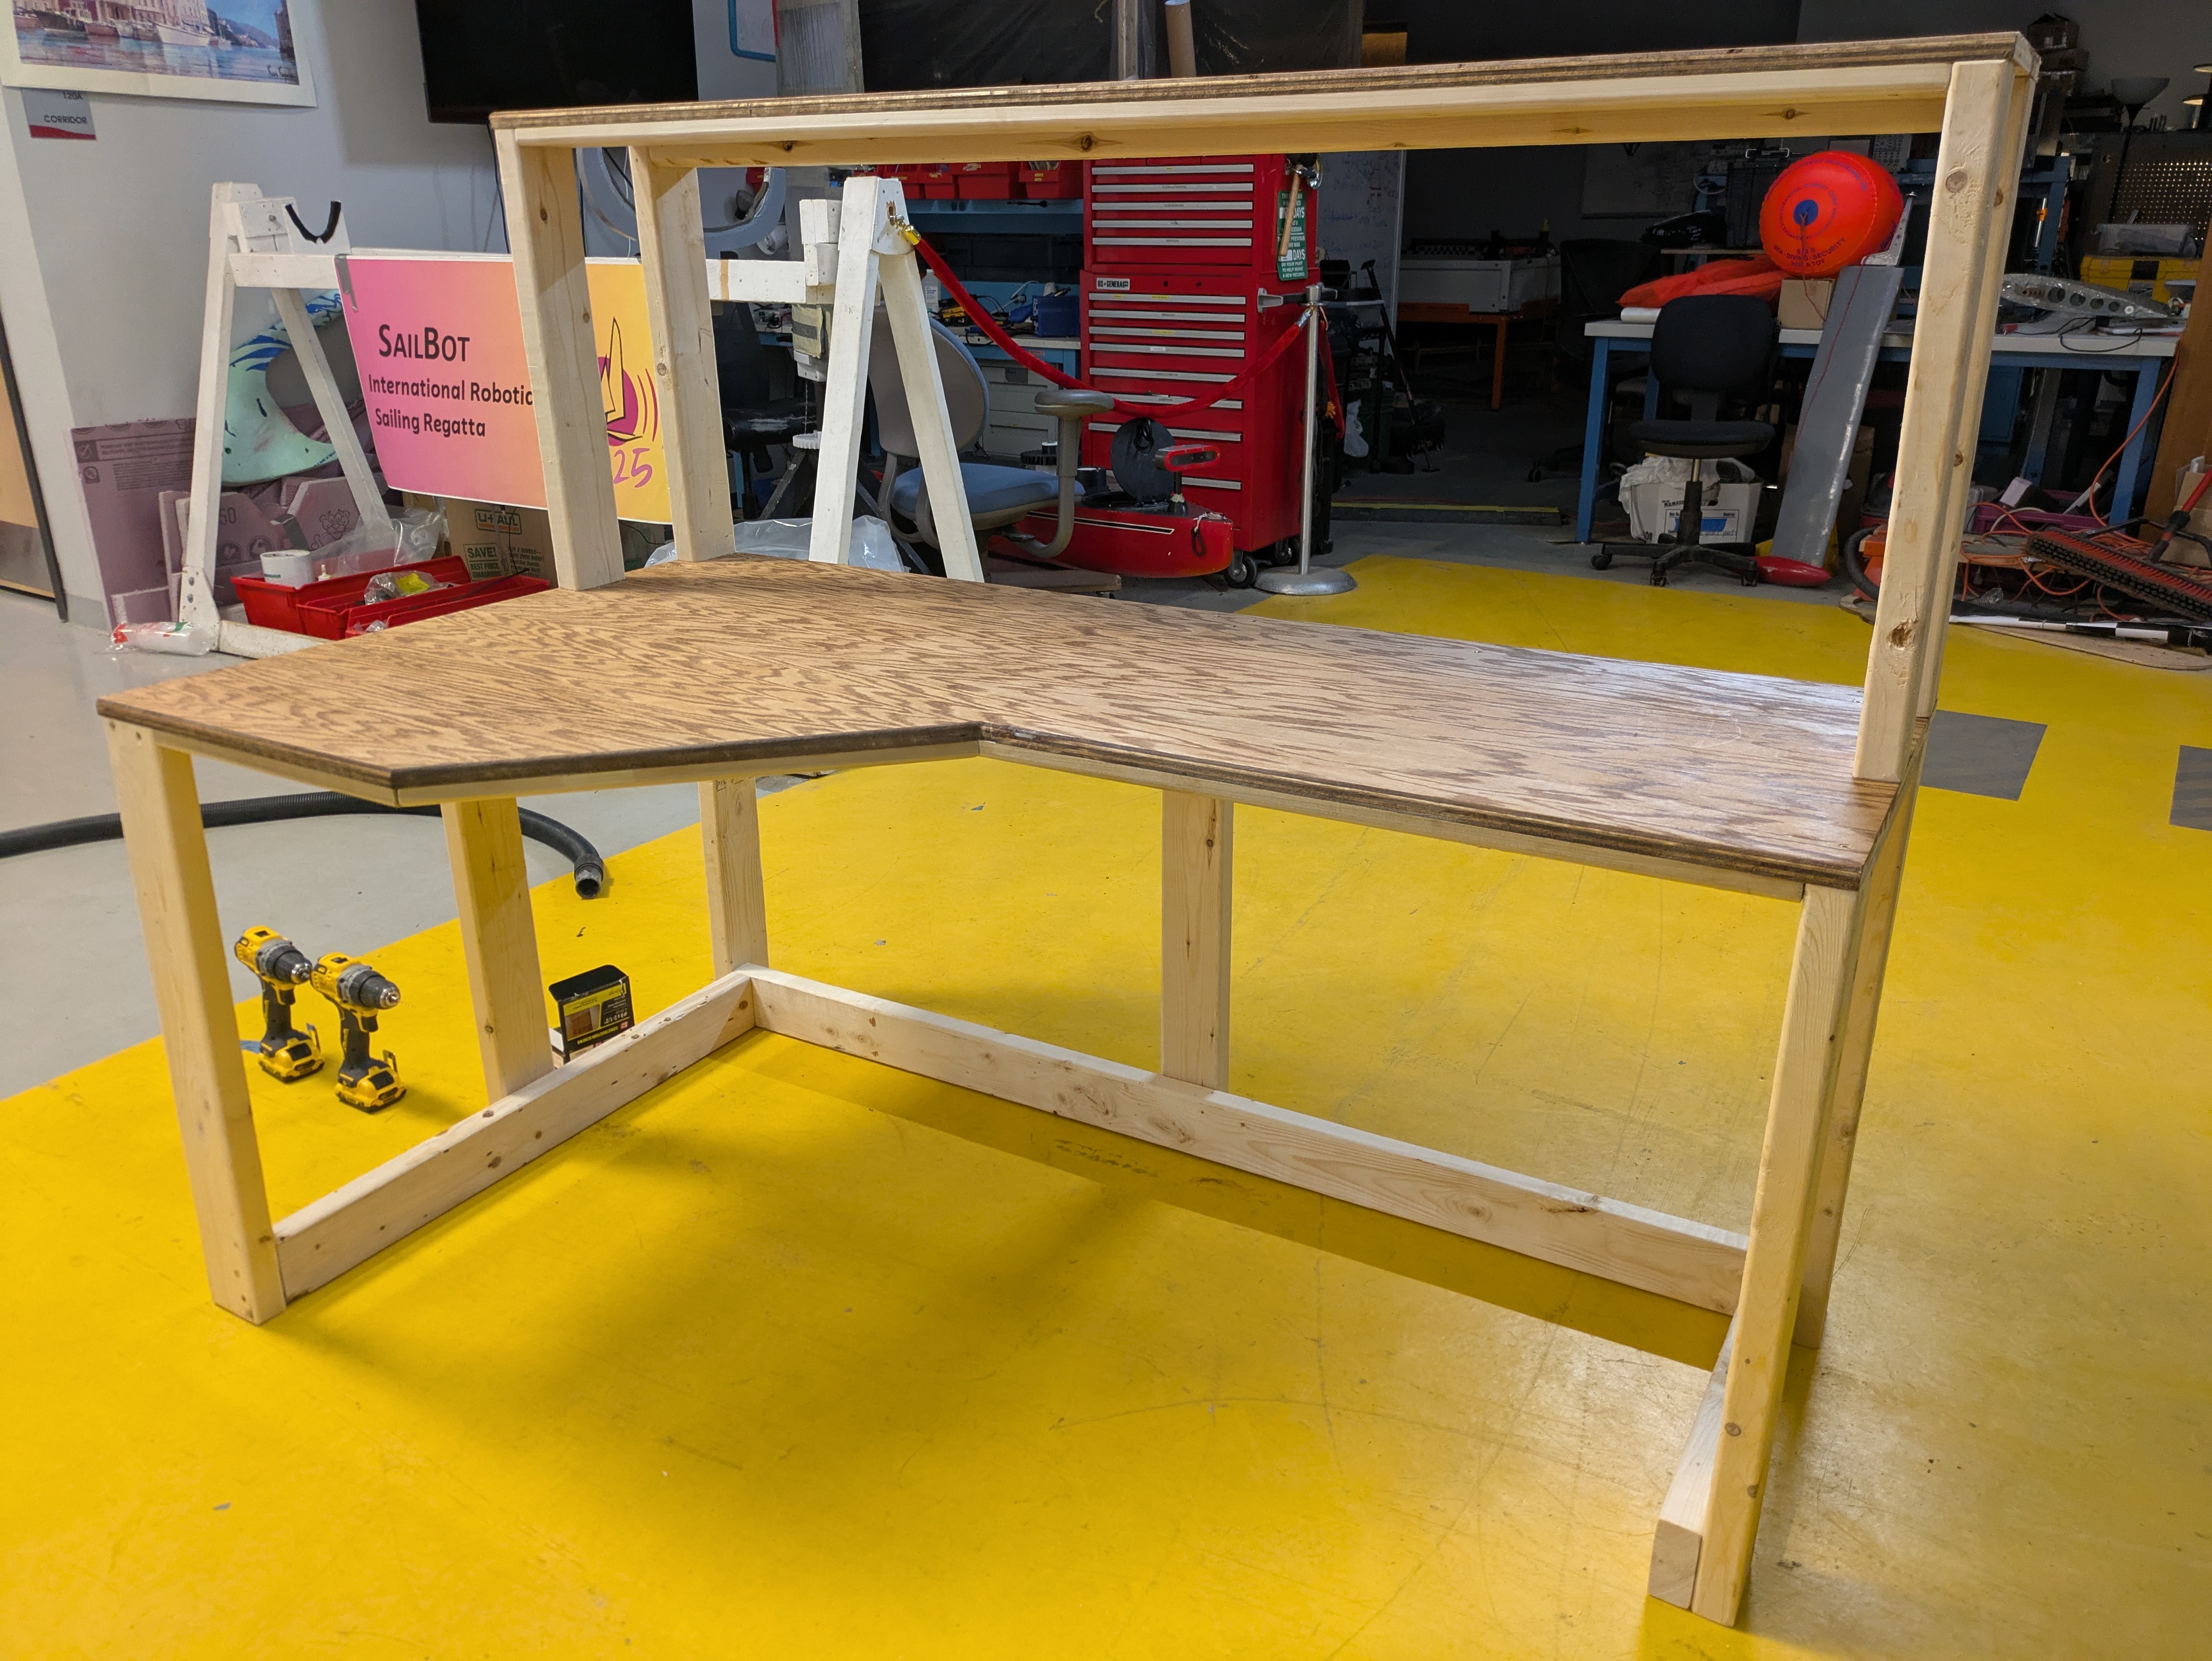
The desk ends up being ~5ft by 3ft by ~4ft. This happens to be a fair bit larger than what either my car can carry or what I can fit through a regular door.
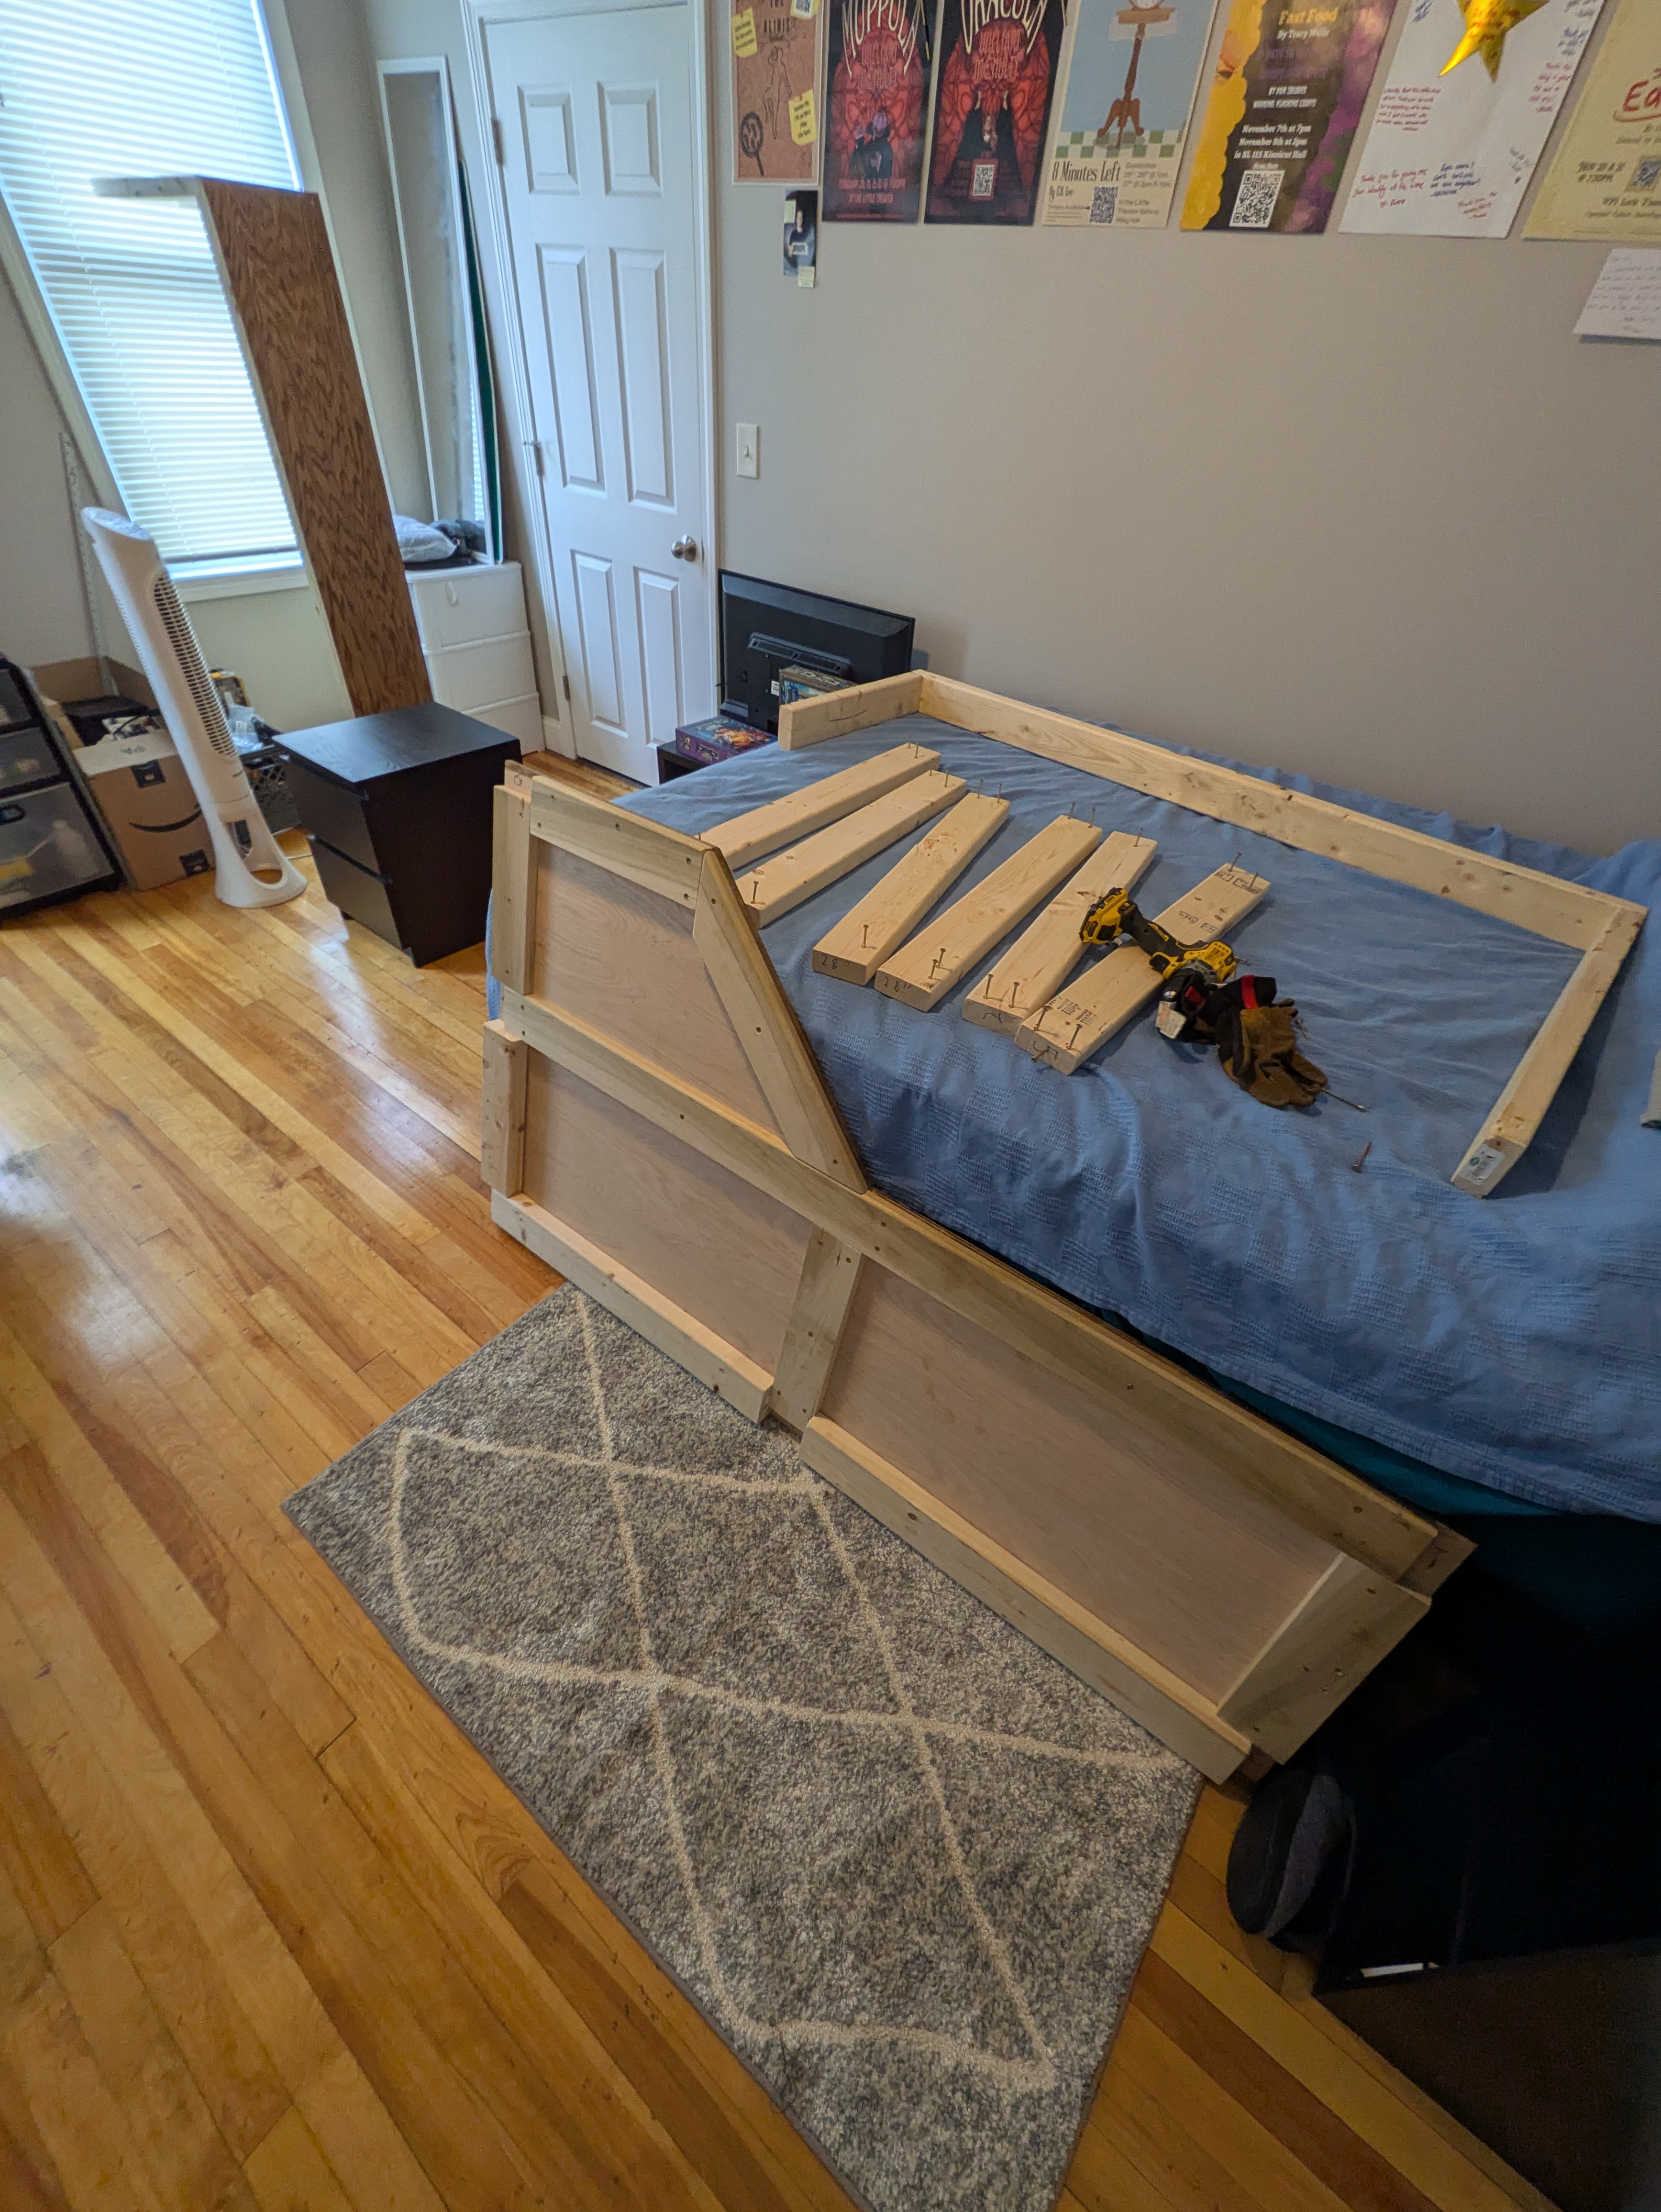
Some disassembly was therefore required. Lucky that I planned for this from the beginning!
We made it into the apartment okay, but in many pieces.
After some work, we have it assembled and in place!
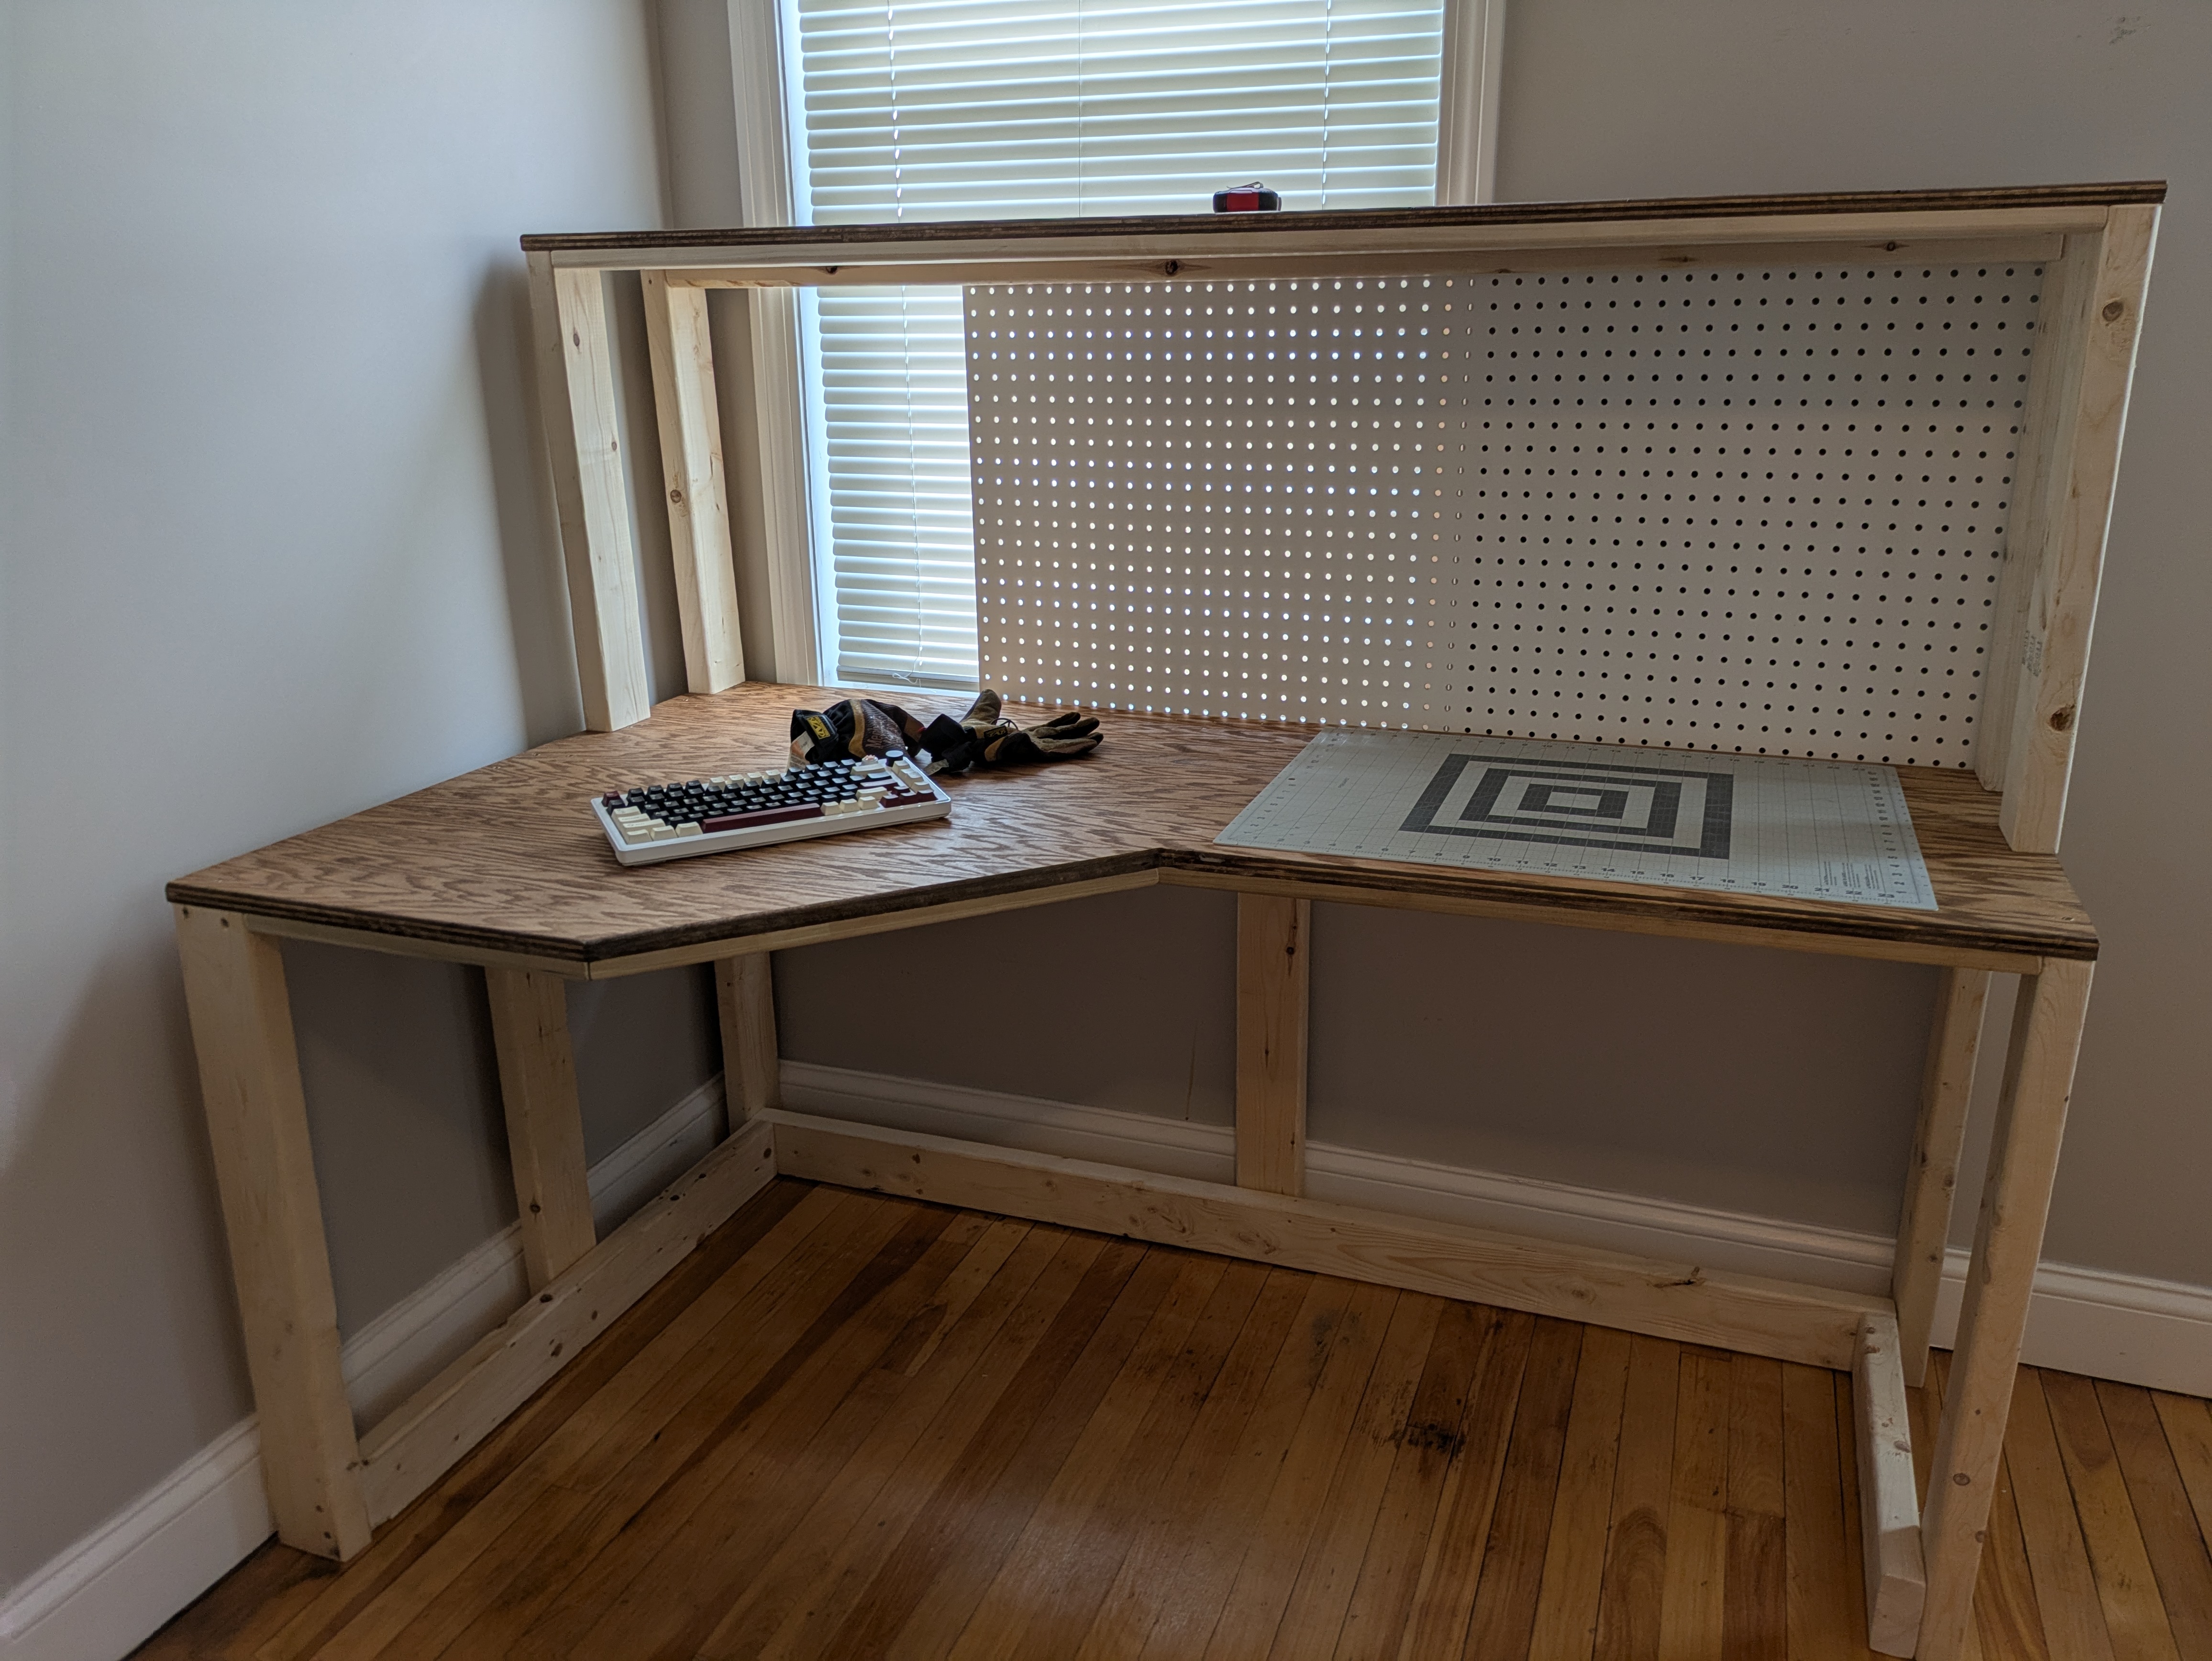
Once in place, I installed some LED strip under the top shelf that has RGB and both WW and CW emitters, giving some nice illumination.
After some computer setup (that’s mostly complete as of writing this), we get the final result!
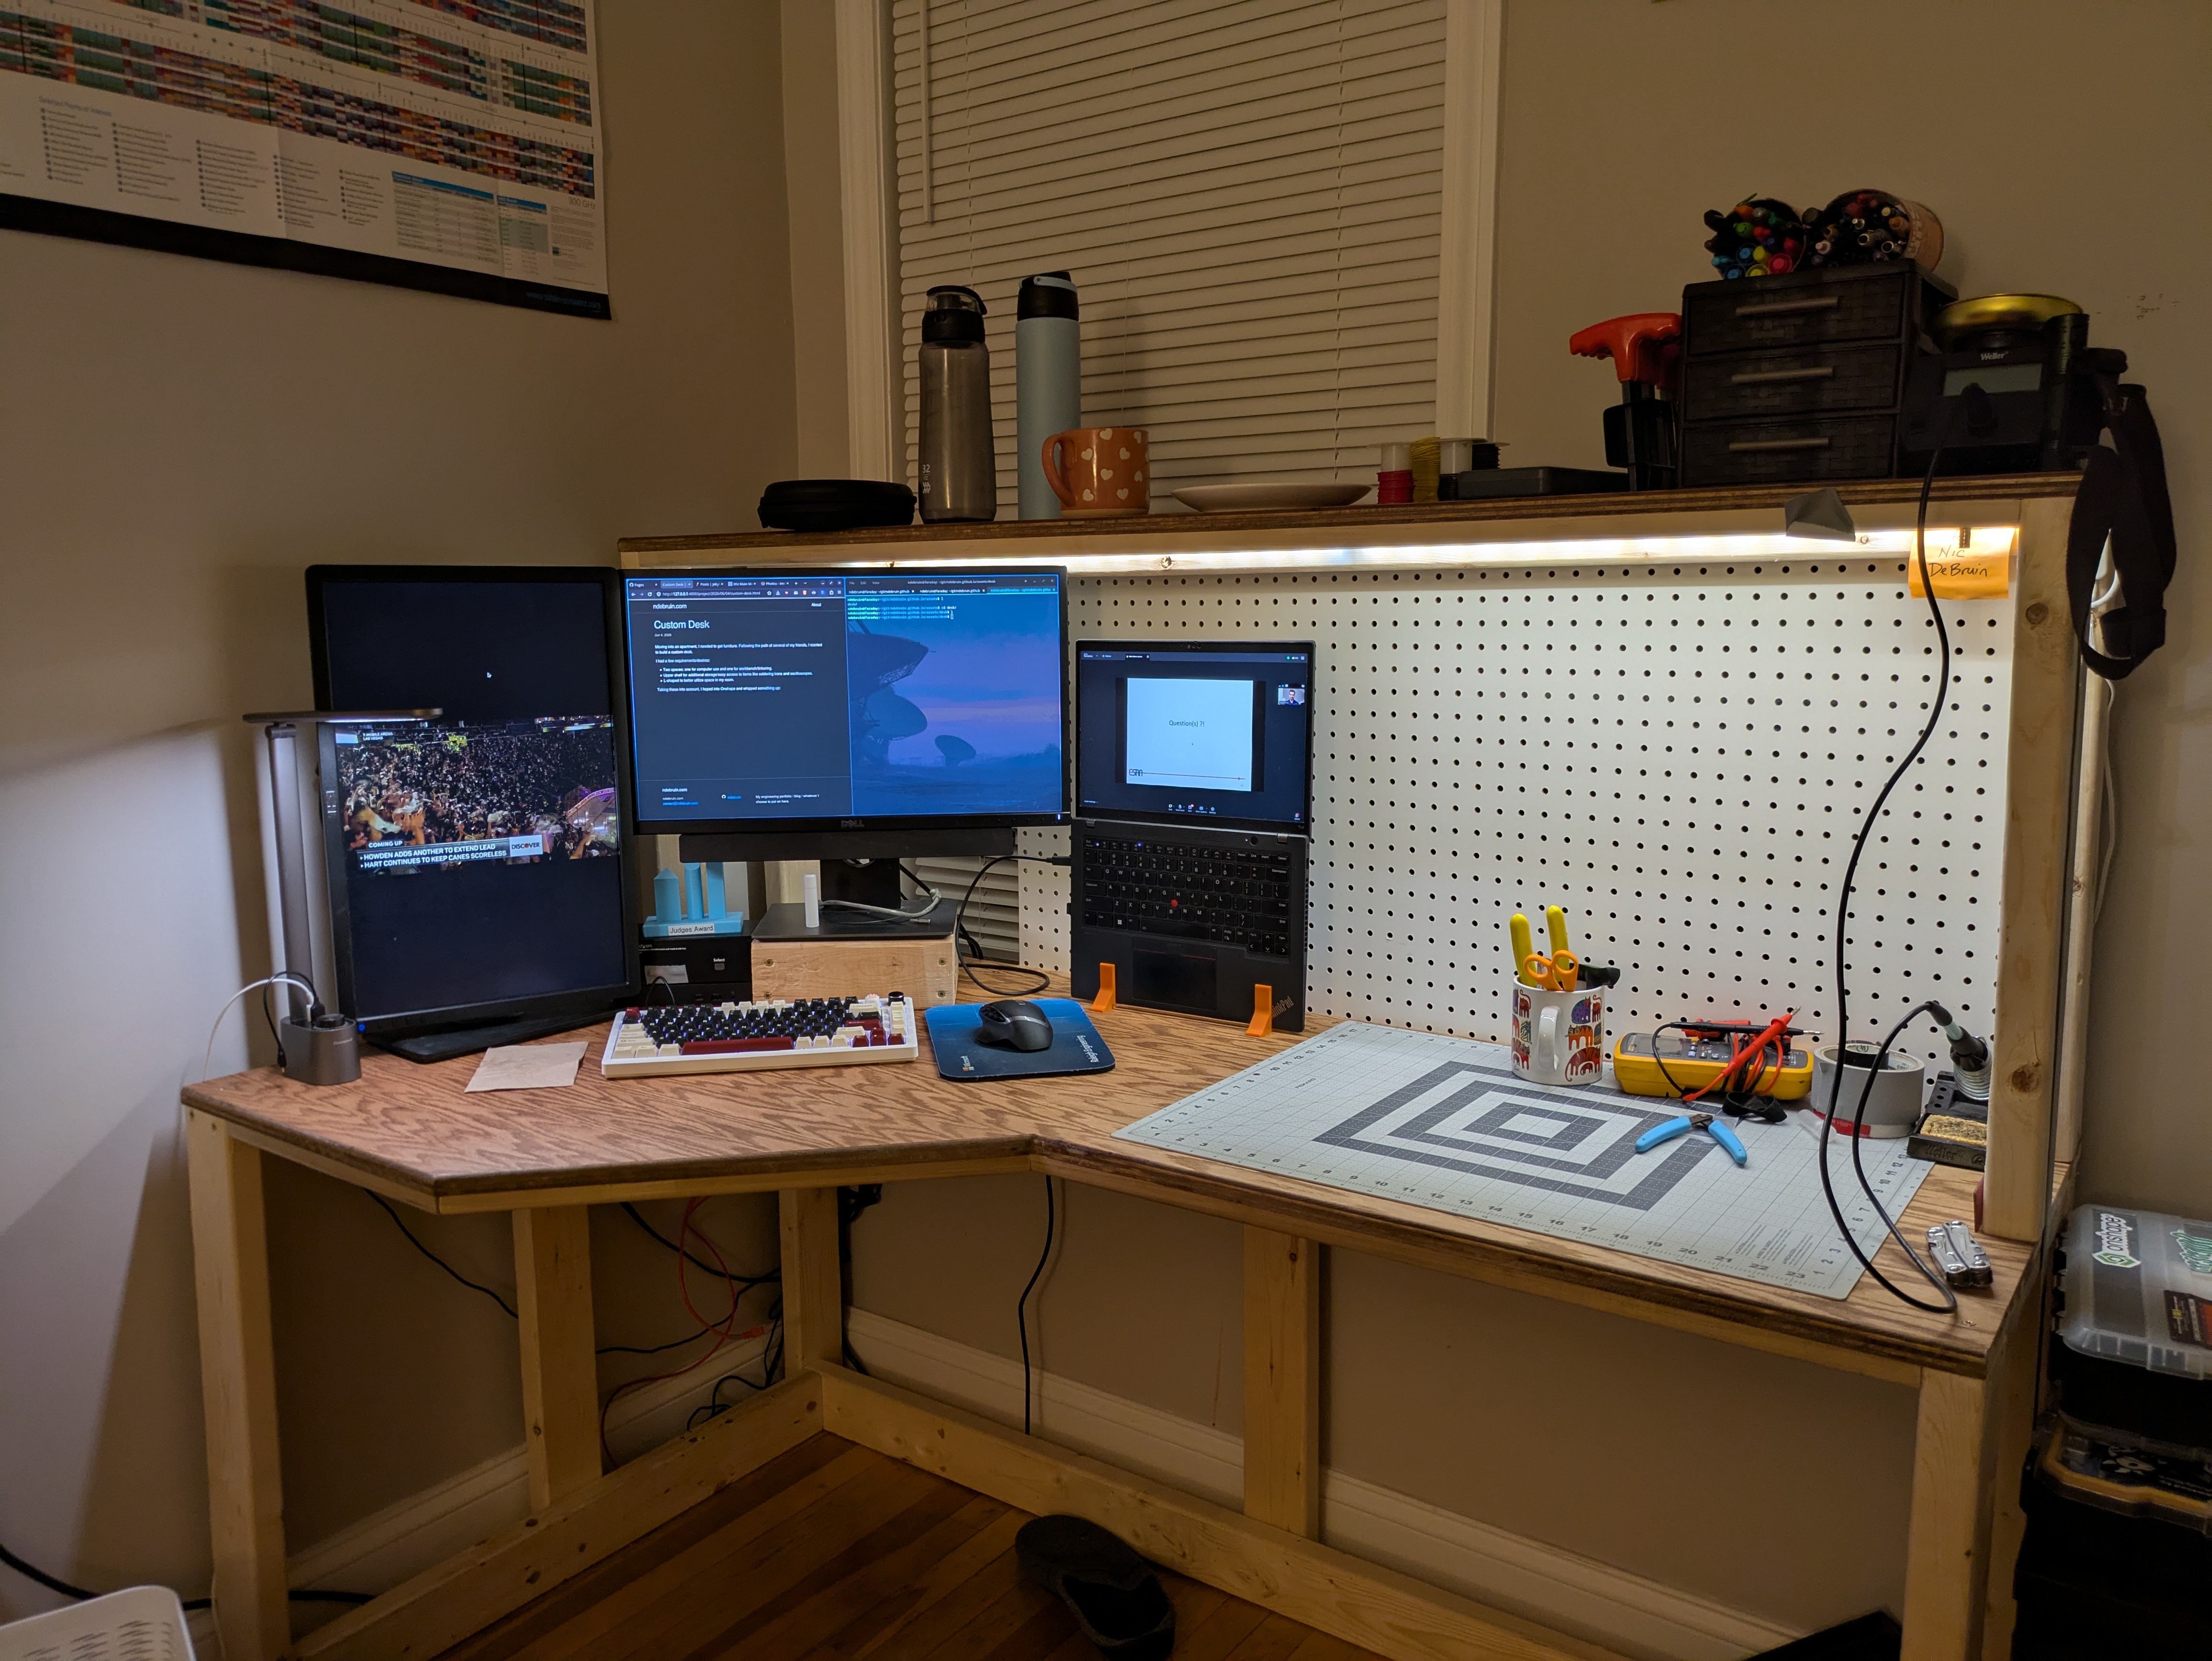
Still missing some organization for the pegboard, some more test instruments, and a shelf below the desk in the back corner for a mini PC to act as a server.
I’m overall really happy with the result though, and spent a whole lot less than I would have for a similarly sized or quality desk.