<?xml version="1.0" encoding="utf-8"?><feed xmlns="http://www.w3.org/2005/Atom" ><generator uri="https://jekyllrb.com/" version="3.10.0">Jekyll</generator><link href="https://ndebruin.com/feed.xml" rel="self" type="application/atom+xml" /><link href="https://ndebruin.com/" rel="alternate" type="text/html" /><updated>2026-06-05T02:48:37+00:00</updated><id>https://ndebruin.com/feed.xml</id><title type="html">ndebruin.com</title><subtitle>My engineering portfolio / blog / whatever I choose to put on here.</subtitle><entry><title type="html">Custom Desk</title><link href="https://ndebruin.com/project/2026/06/04/custom-desk.html" rel="alternate" type="text/html" title="Custom Desk" /><published>2026-06-04T23:39:50+00:00</published><updated>2026-06-04T23:39:50+00:00</updated><id>https://ndebruin.com/project/2026/06/04/custom-desk</id><content type="html" xml:base="https://ndebruin.com/project/2026/06/04/custom-desk.html"><![CDATA[<p>Moving out of a dorm and into an apartment, I needed to get furniture.
Following the path of several of my friends, I wanted to build a custom desk.</p>

<p>I had a few requirements/desires:</p>
<ul>
  <li>Two spaces; one for computer use and one for workbench/tinkering.</li>
  <li>Upper shelf for additional storage/easy access to items like soldering irons and oscilloscopes.</li>
  <li>L-shaped to better utilize space in my room.</li>
</ul>

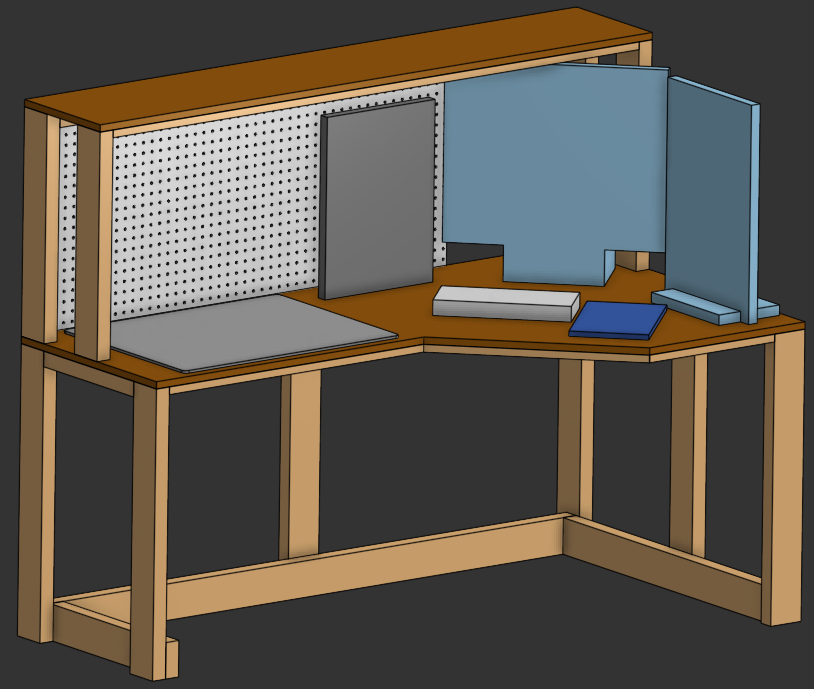
<p>Taking these into account, I hoped into Onshape and whipped something up:</p>

<p><img src="/assets/desk/onshape.png" alt="Top Level Assembly from Onshape." /></p>

<p>The document can be accessed <a href="https://cad.onshape.com/documents/843bd18932b400242786ea50/w/eab1a3c9a1faf15467145c70/e/1ffc019b3fe246dd63404d6c?renderMode=0&amp;uiState=6a222de7f6ea393dba2a16c9">here</a>.</p>

<p>Some fun design notes:</p>
<ul>
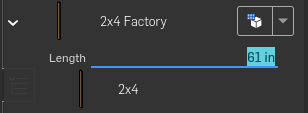
  <li>Used Onshape’s <code class="language-plaintext highlighter-rouge">Configurations</code> feature to make creating 1x4 and 2x4’s
very easy when assembling the desk.</li>
</ul>

<p><img src="/assets/desk/factory.png" alt="Onshape Configurations Insert" /></p>

<ul>
  <li>2x4’s connecting the legs together at the bottom of the legs.
This prevents wobbling and makes the overall structure stronger.</li>
  <li>Simple models for crucial items (monitors, keyboard, mousepad, cutting mat, etc.) to help with modeling.</li>
</ul>

<p>After a trip to Home Depot, we have plenty of wood!</p>

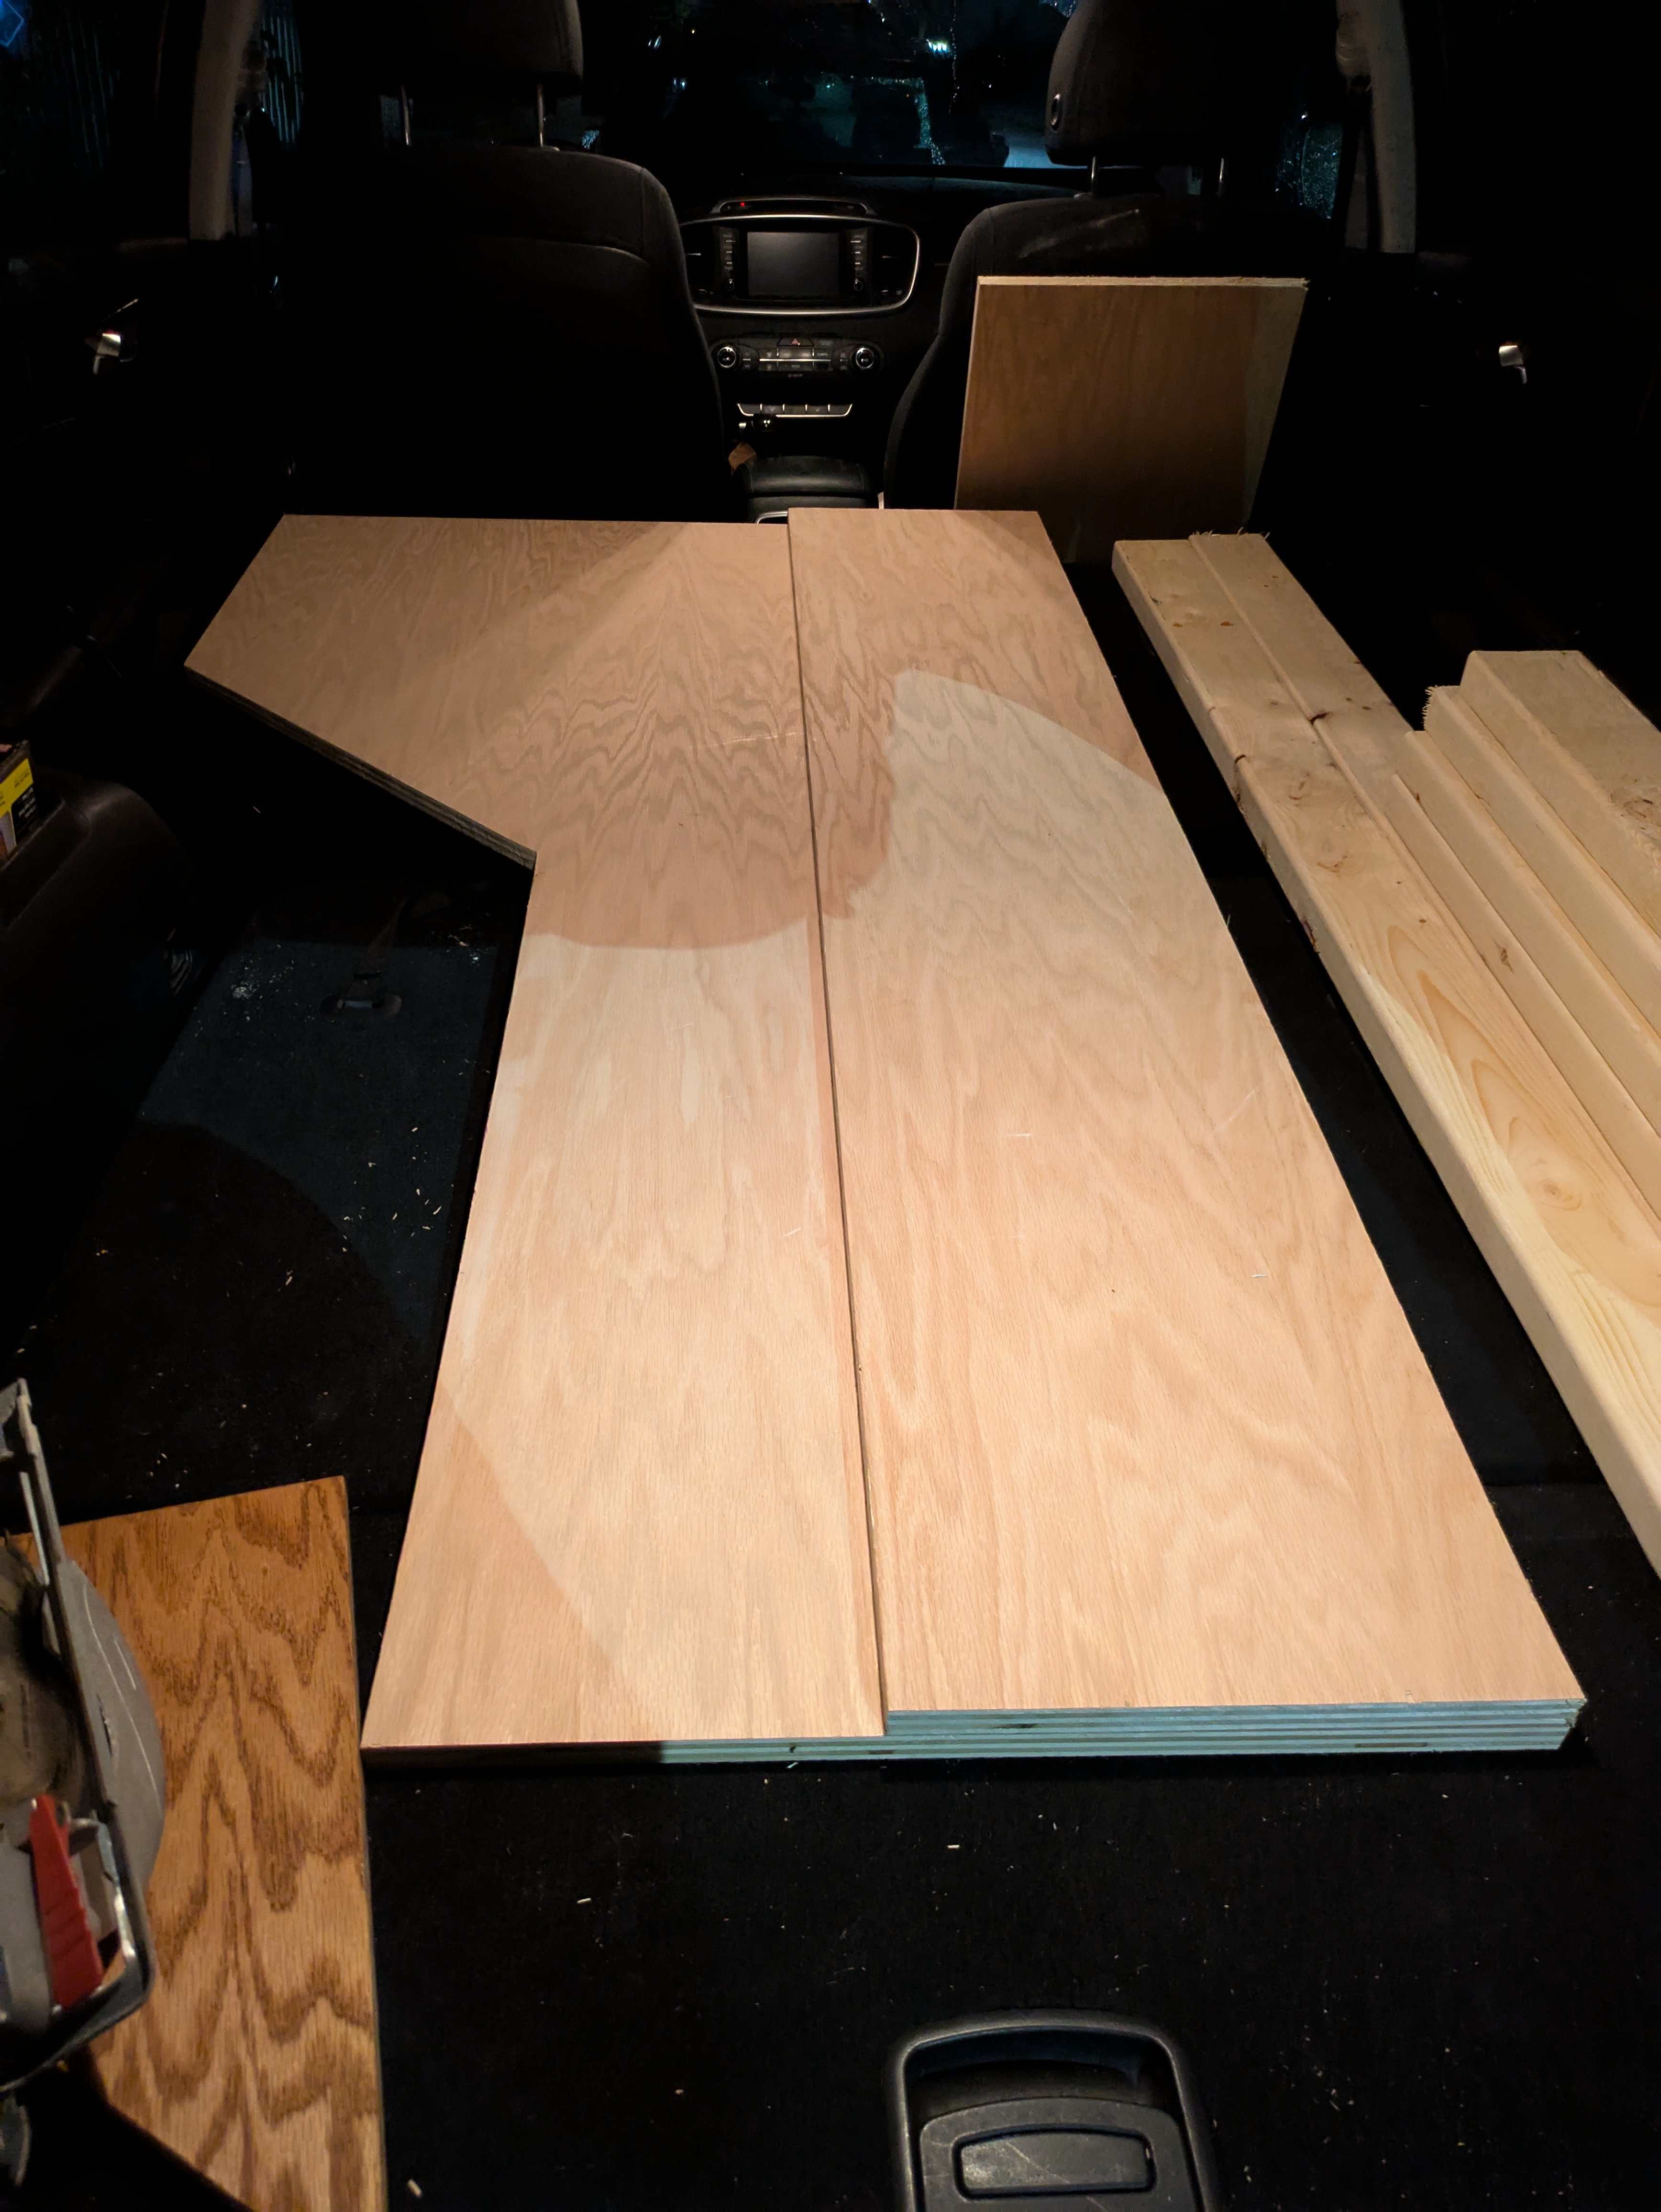
<p>Plywood got cut carefully using a circular saw,
but with the top side up you may notice something wrong…</p>

<p><img src="/assets/desk/cutplywood.jpg" alt="Cut Plywood" /></p>

<p>The main desk slab got cut backwards!</p>

<p>How did this happen? I did the right thing and did all my markings on the bottom side of the wood.
However, I did my markings based on looking at the top side.
This is a mistake as old as time, and made my ideal desk orientation a little off.</p>

<p>After some consideration, I decided to end up just building the desk backwards.
It is what it is.</p>

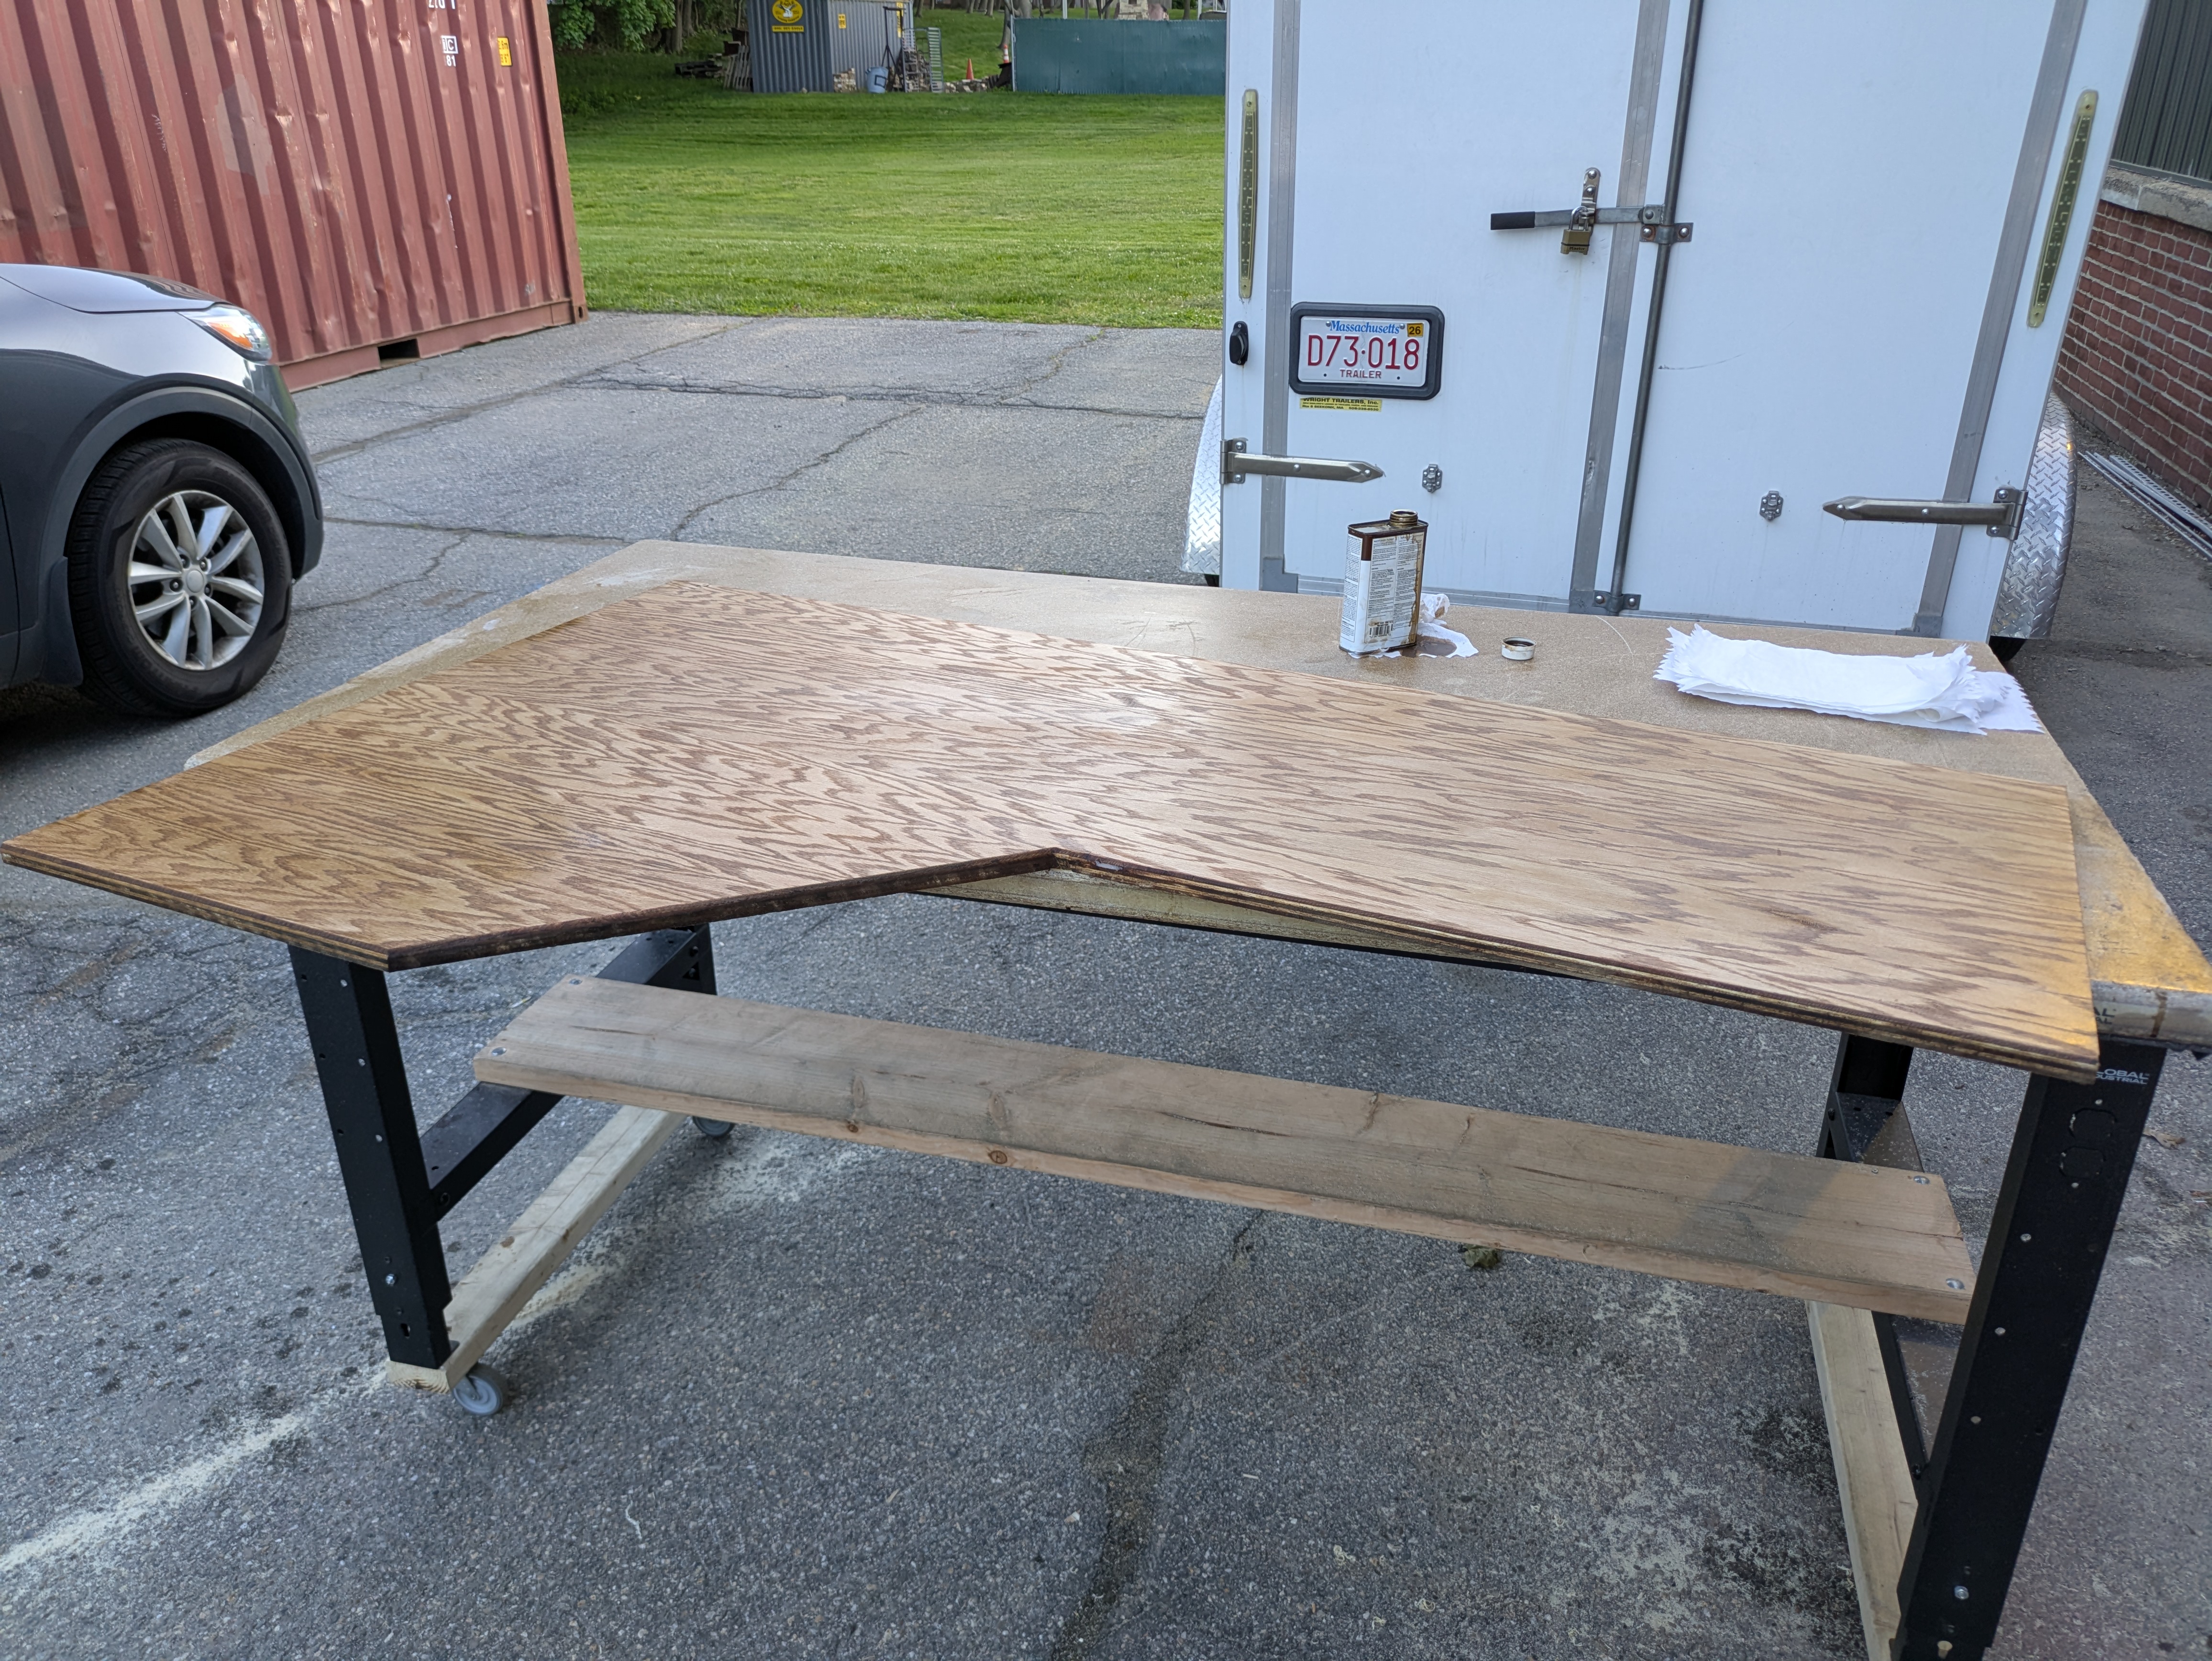
<p>After some sanding and routing work, the top surface is finished with a oil-based stain and sealant.
This same finish was also used on the upper shelf.</p>

<p><img src="/assets/desk/finishedslab.jpg" alt="Finished Slab" /></p>

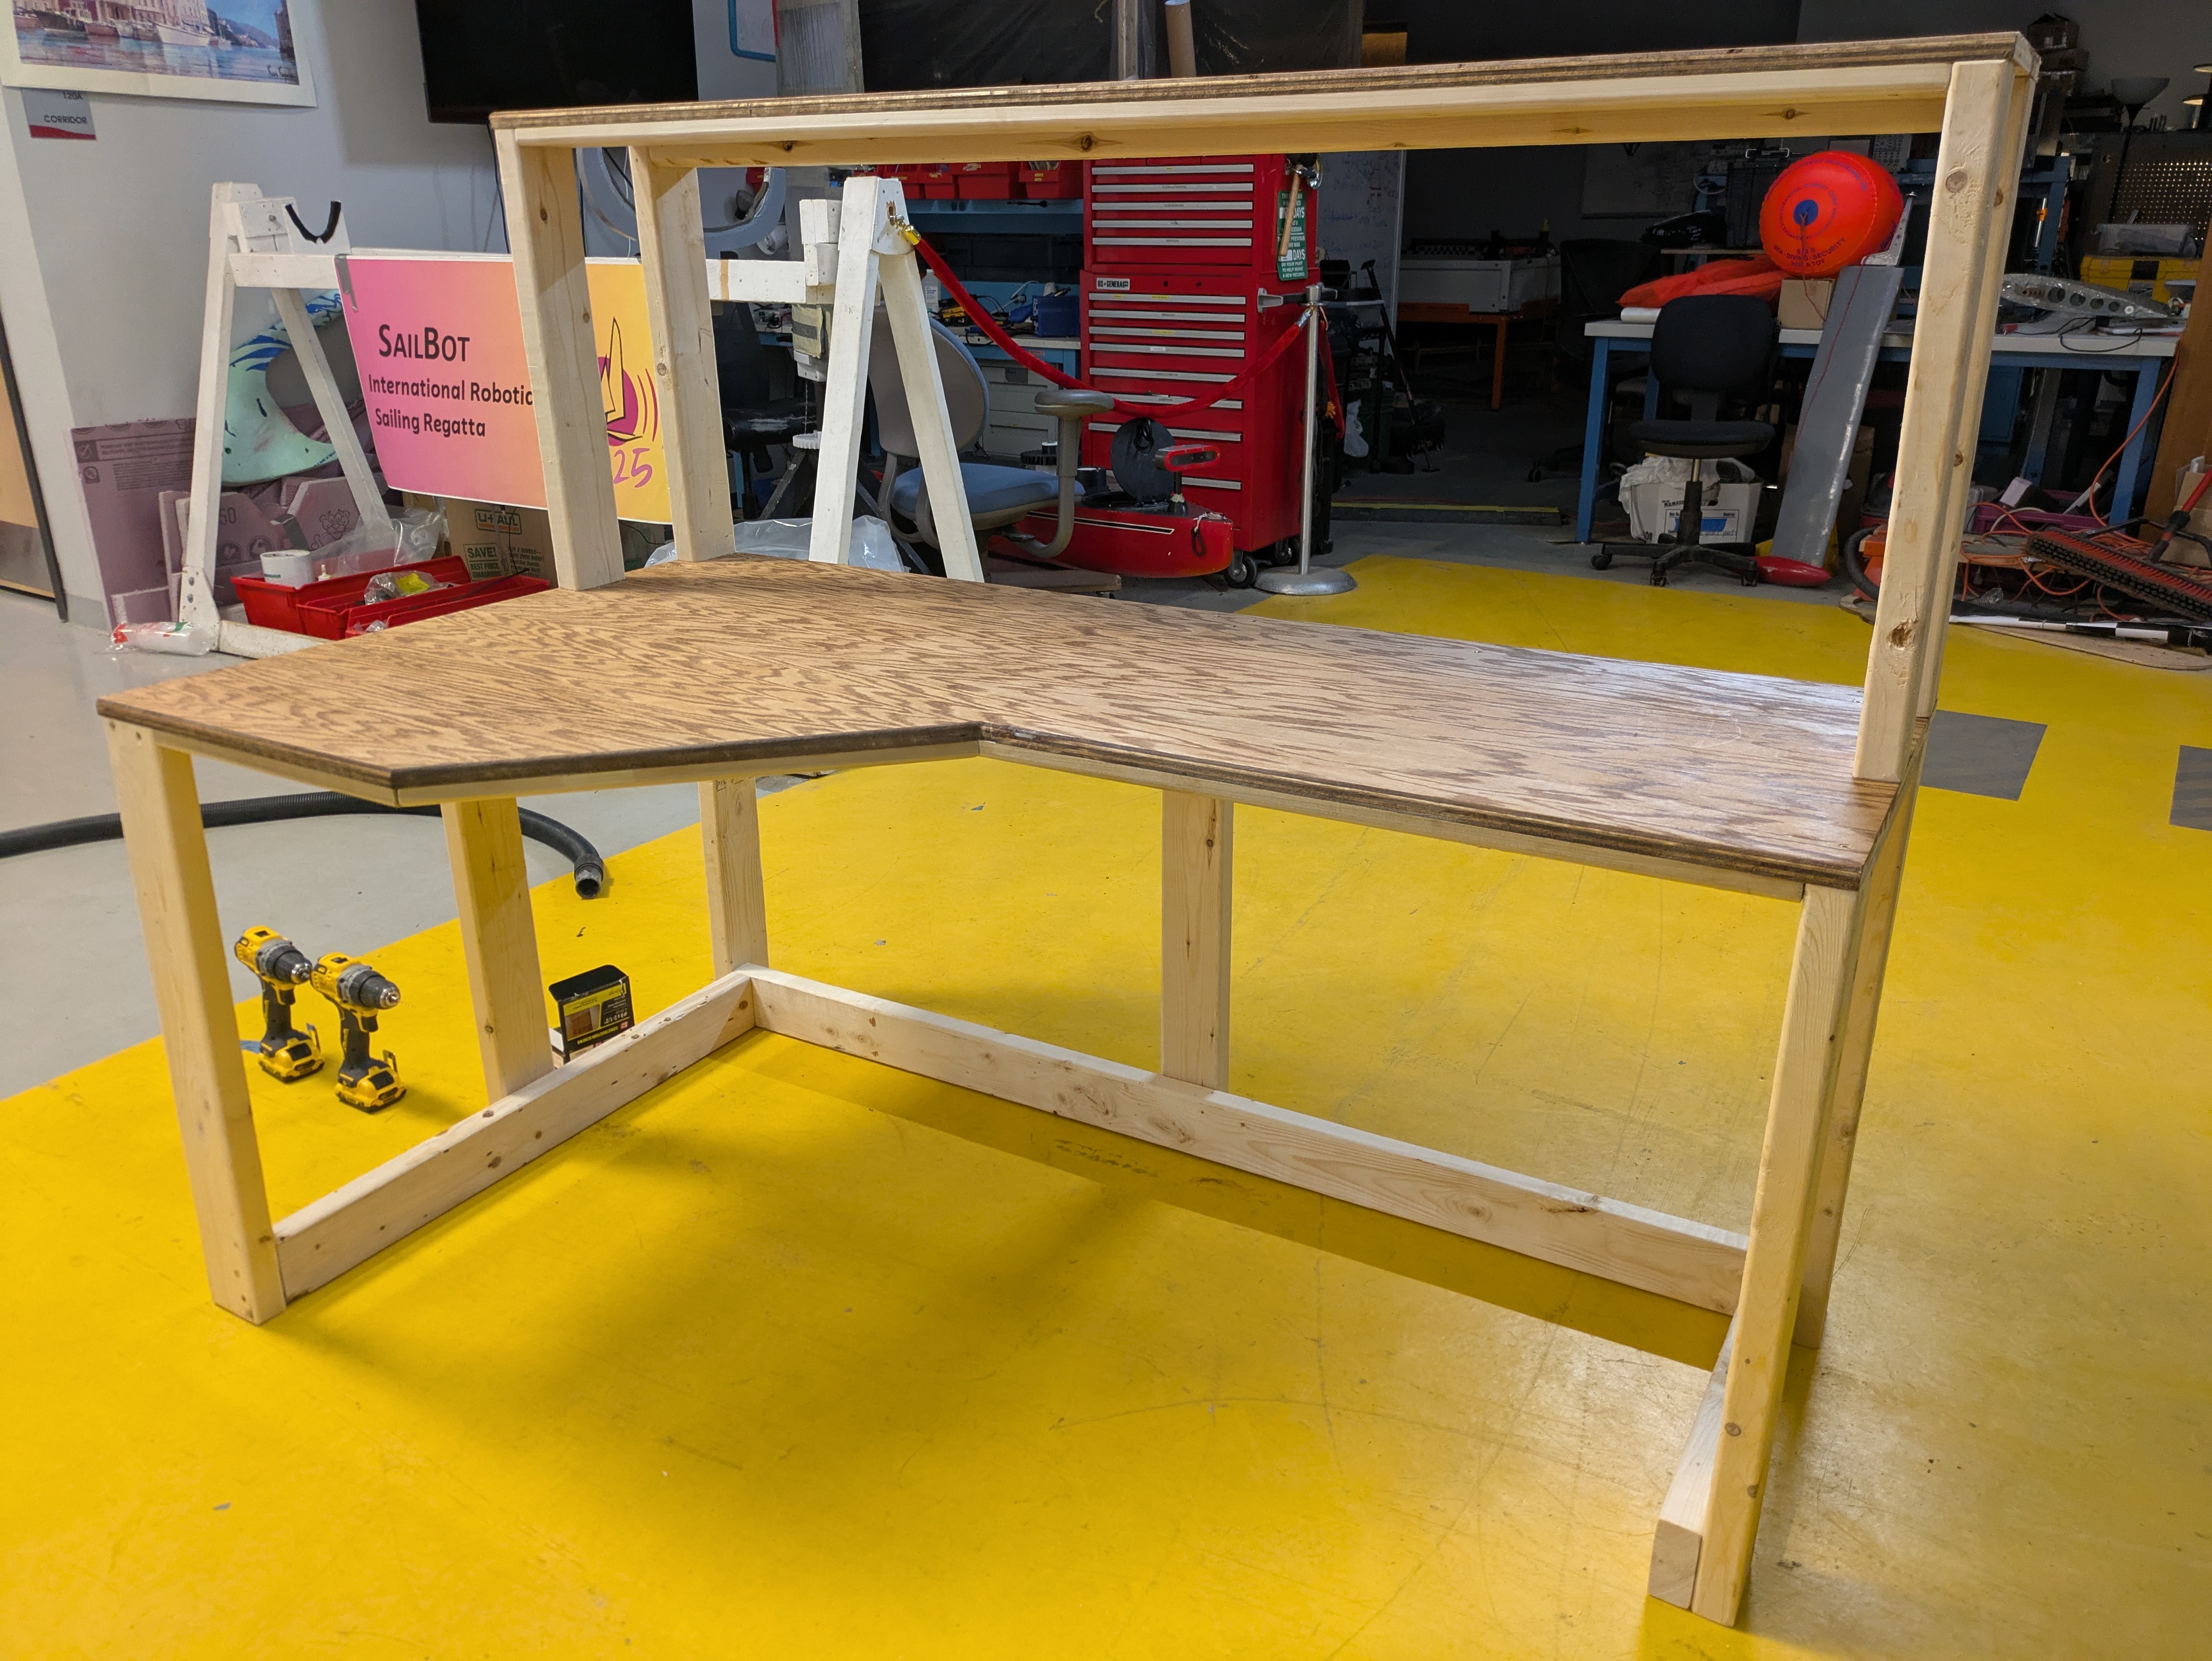
<p>Some time later, I managed to get the whole thing assembled!</p>

<p><img src="/assets/desk/built.jpg" alt="Built Desk" /></p>

<p>The desk ends up being ~5ft by 3ft by ~4ft.
This happens to be a fair bit larger than what either my car can carry
or what I can fit through a regular door.</p>

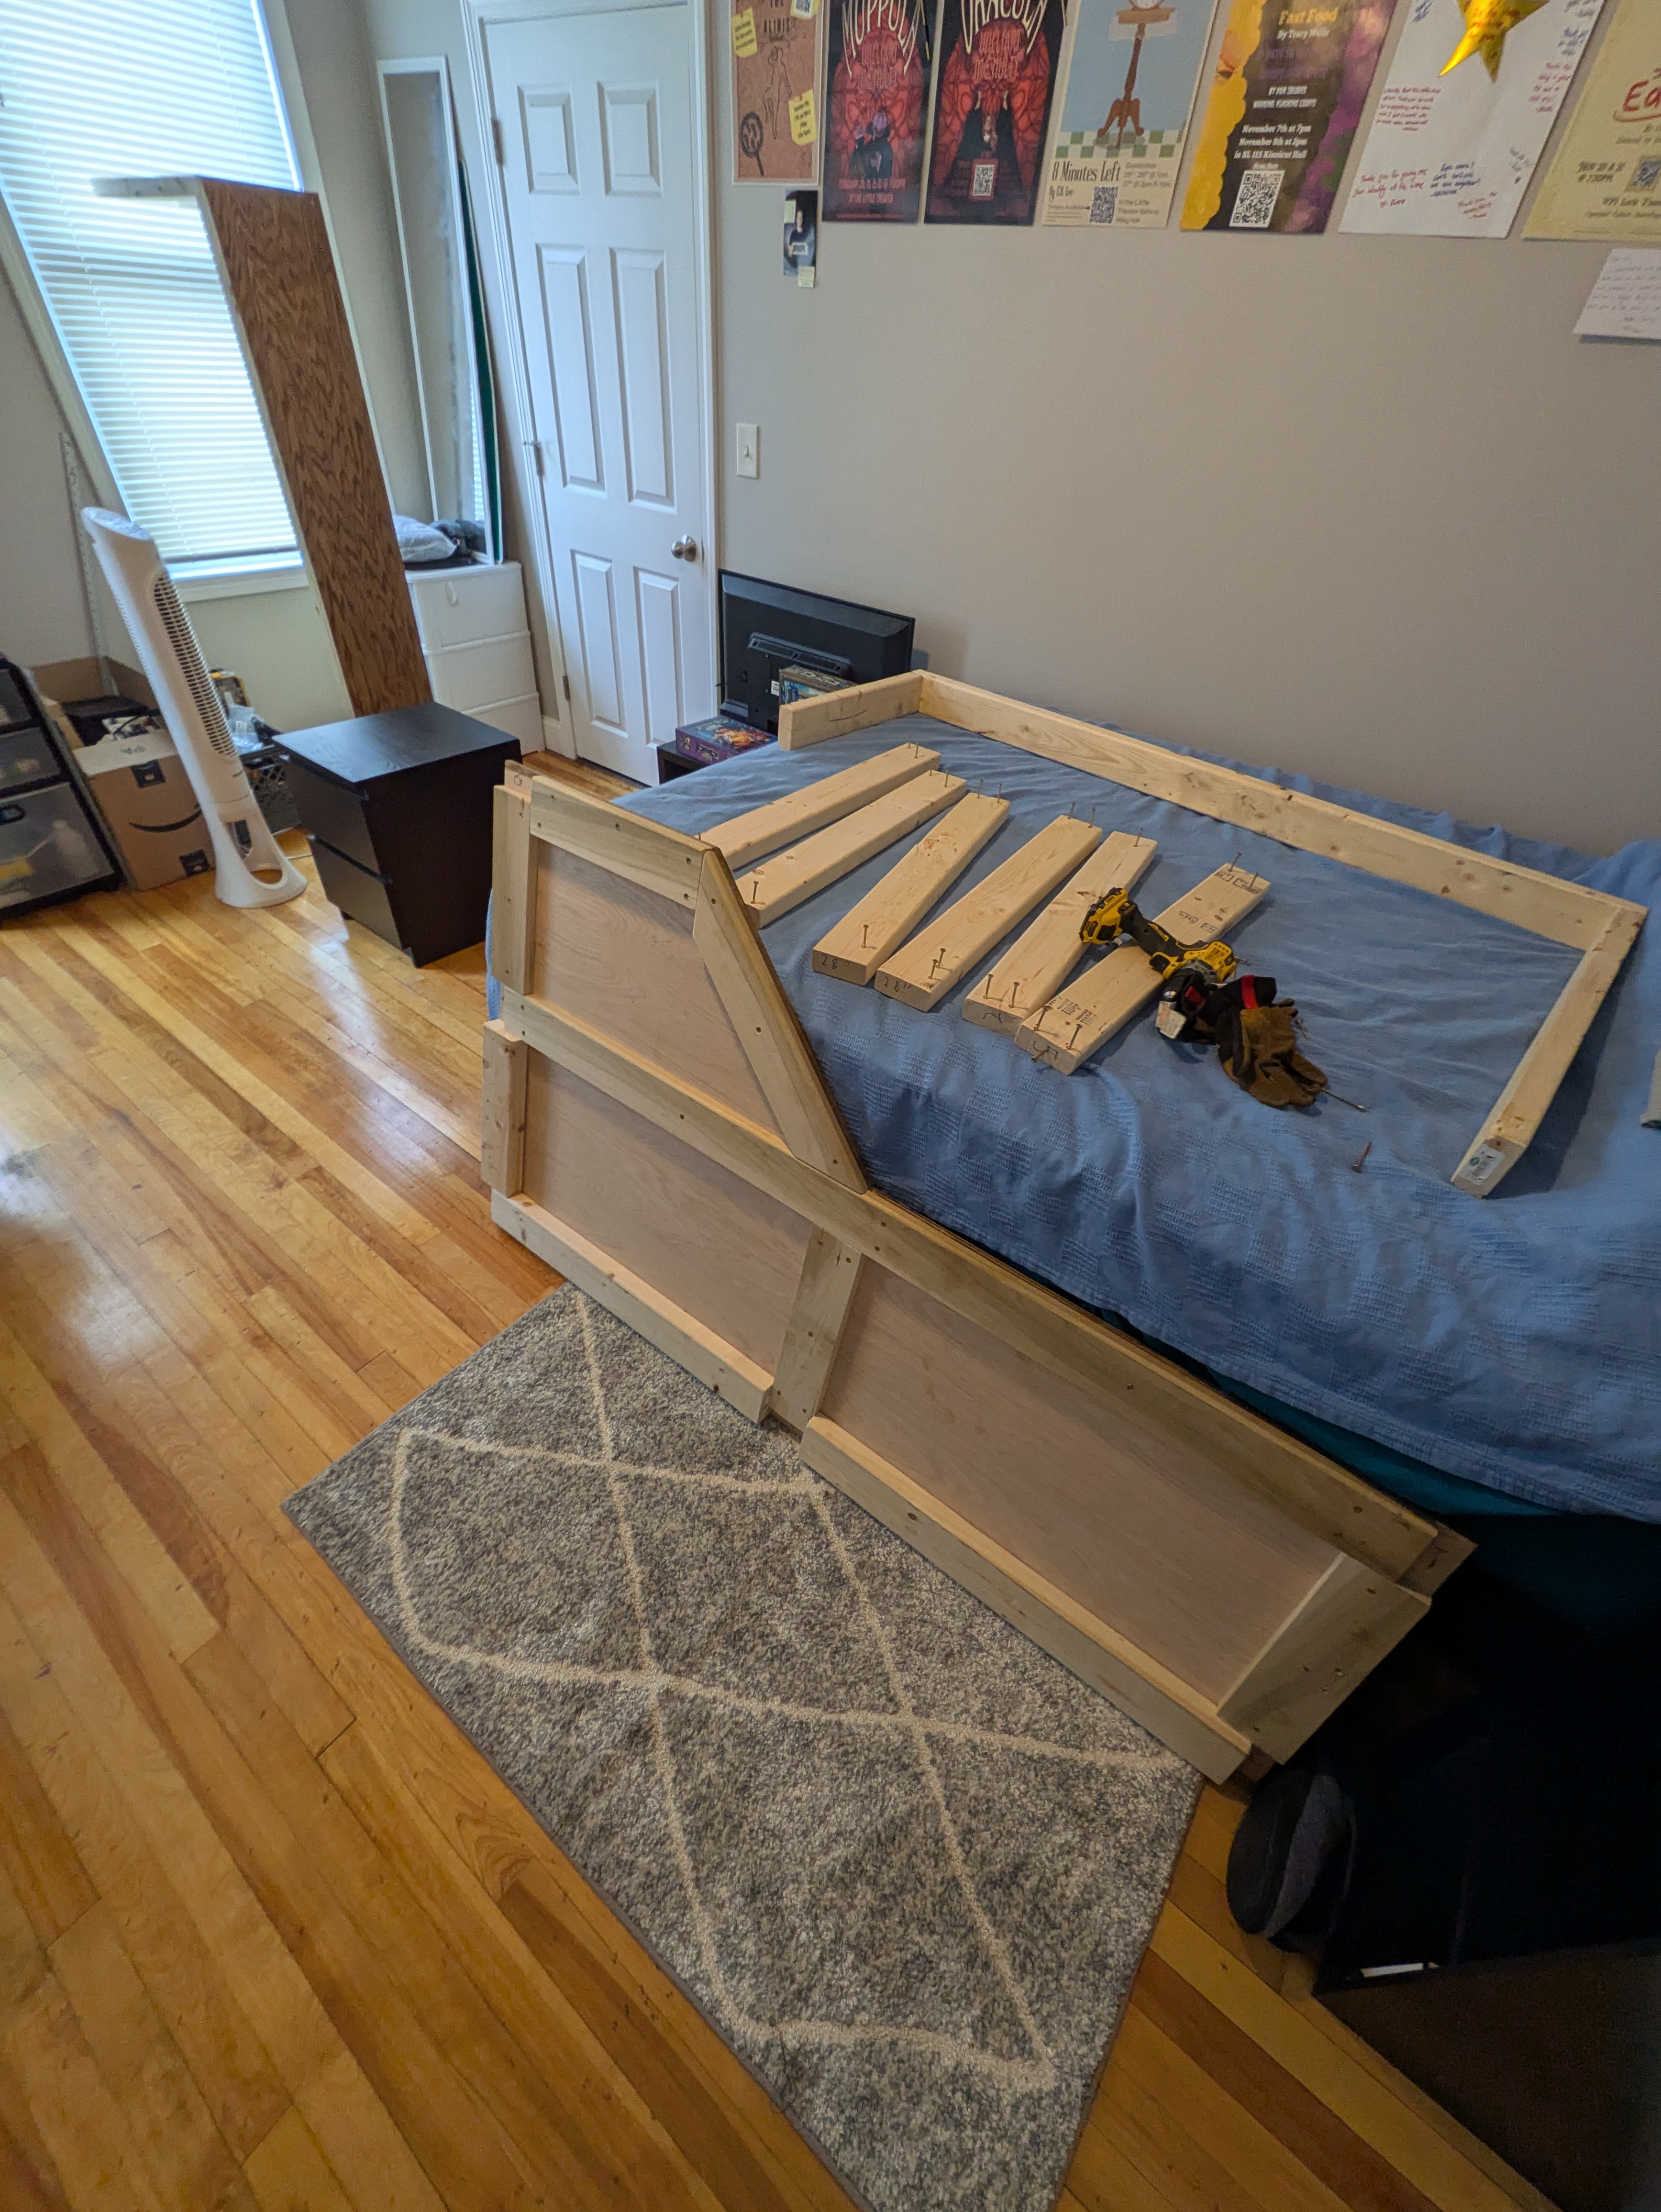
<p>Some disassembly was therefore required. Lucky that I planned for this from the beginning!</p>

<p>We made it into the apartment okay, but in many pieces.</p>

<p><img src="/assets/desk/disassembled.jpg" alt="In pieces." /></p>

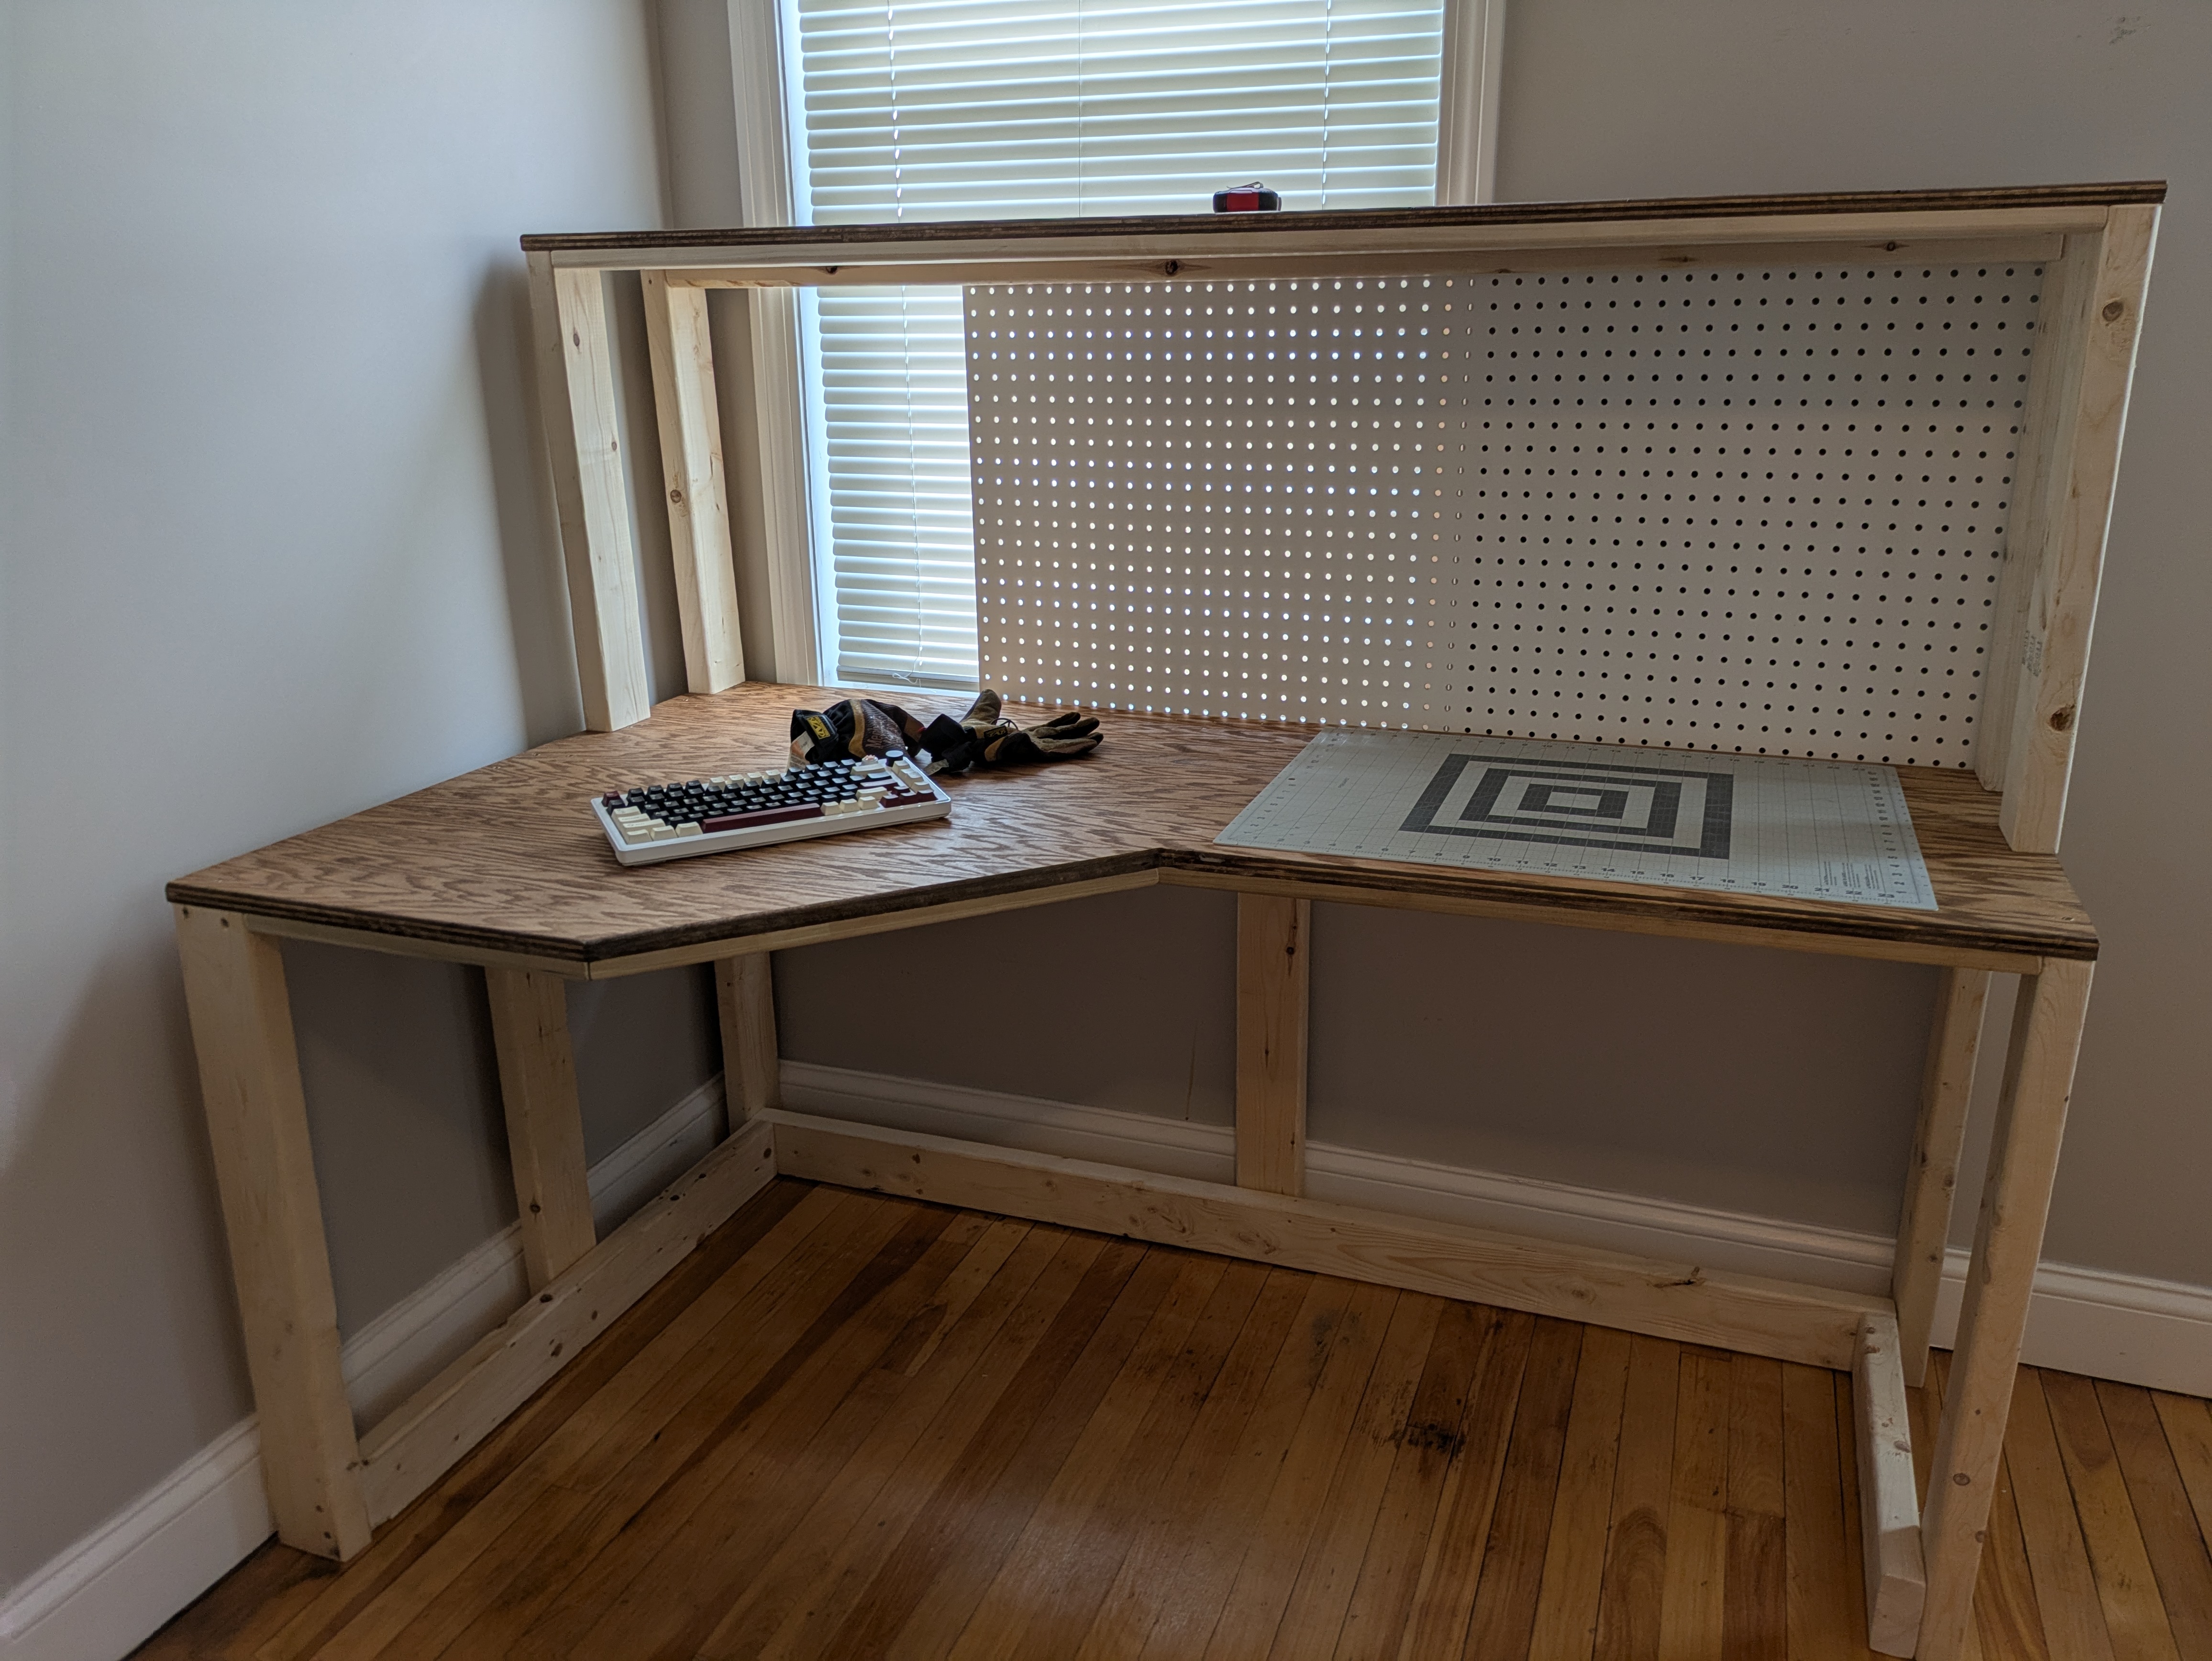
<p>After some work, we have it assembled and in place!</p>

<p><img src="/assets/desk/assembled.jpg" alt="In place." /></p>

<p>Once in place, I installed some LED strip under the top shelf
that has RGB and both WW and CW emitters, giving some nice illumination.</p>

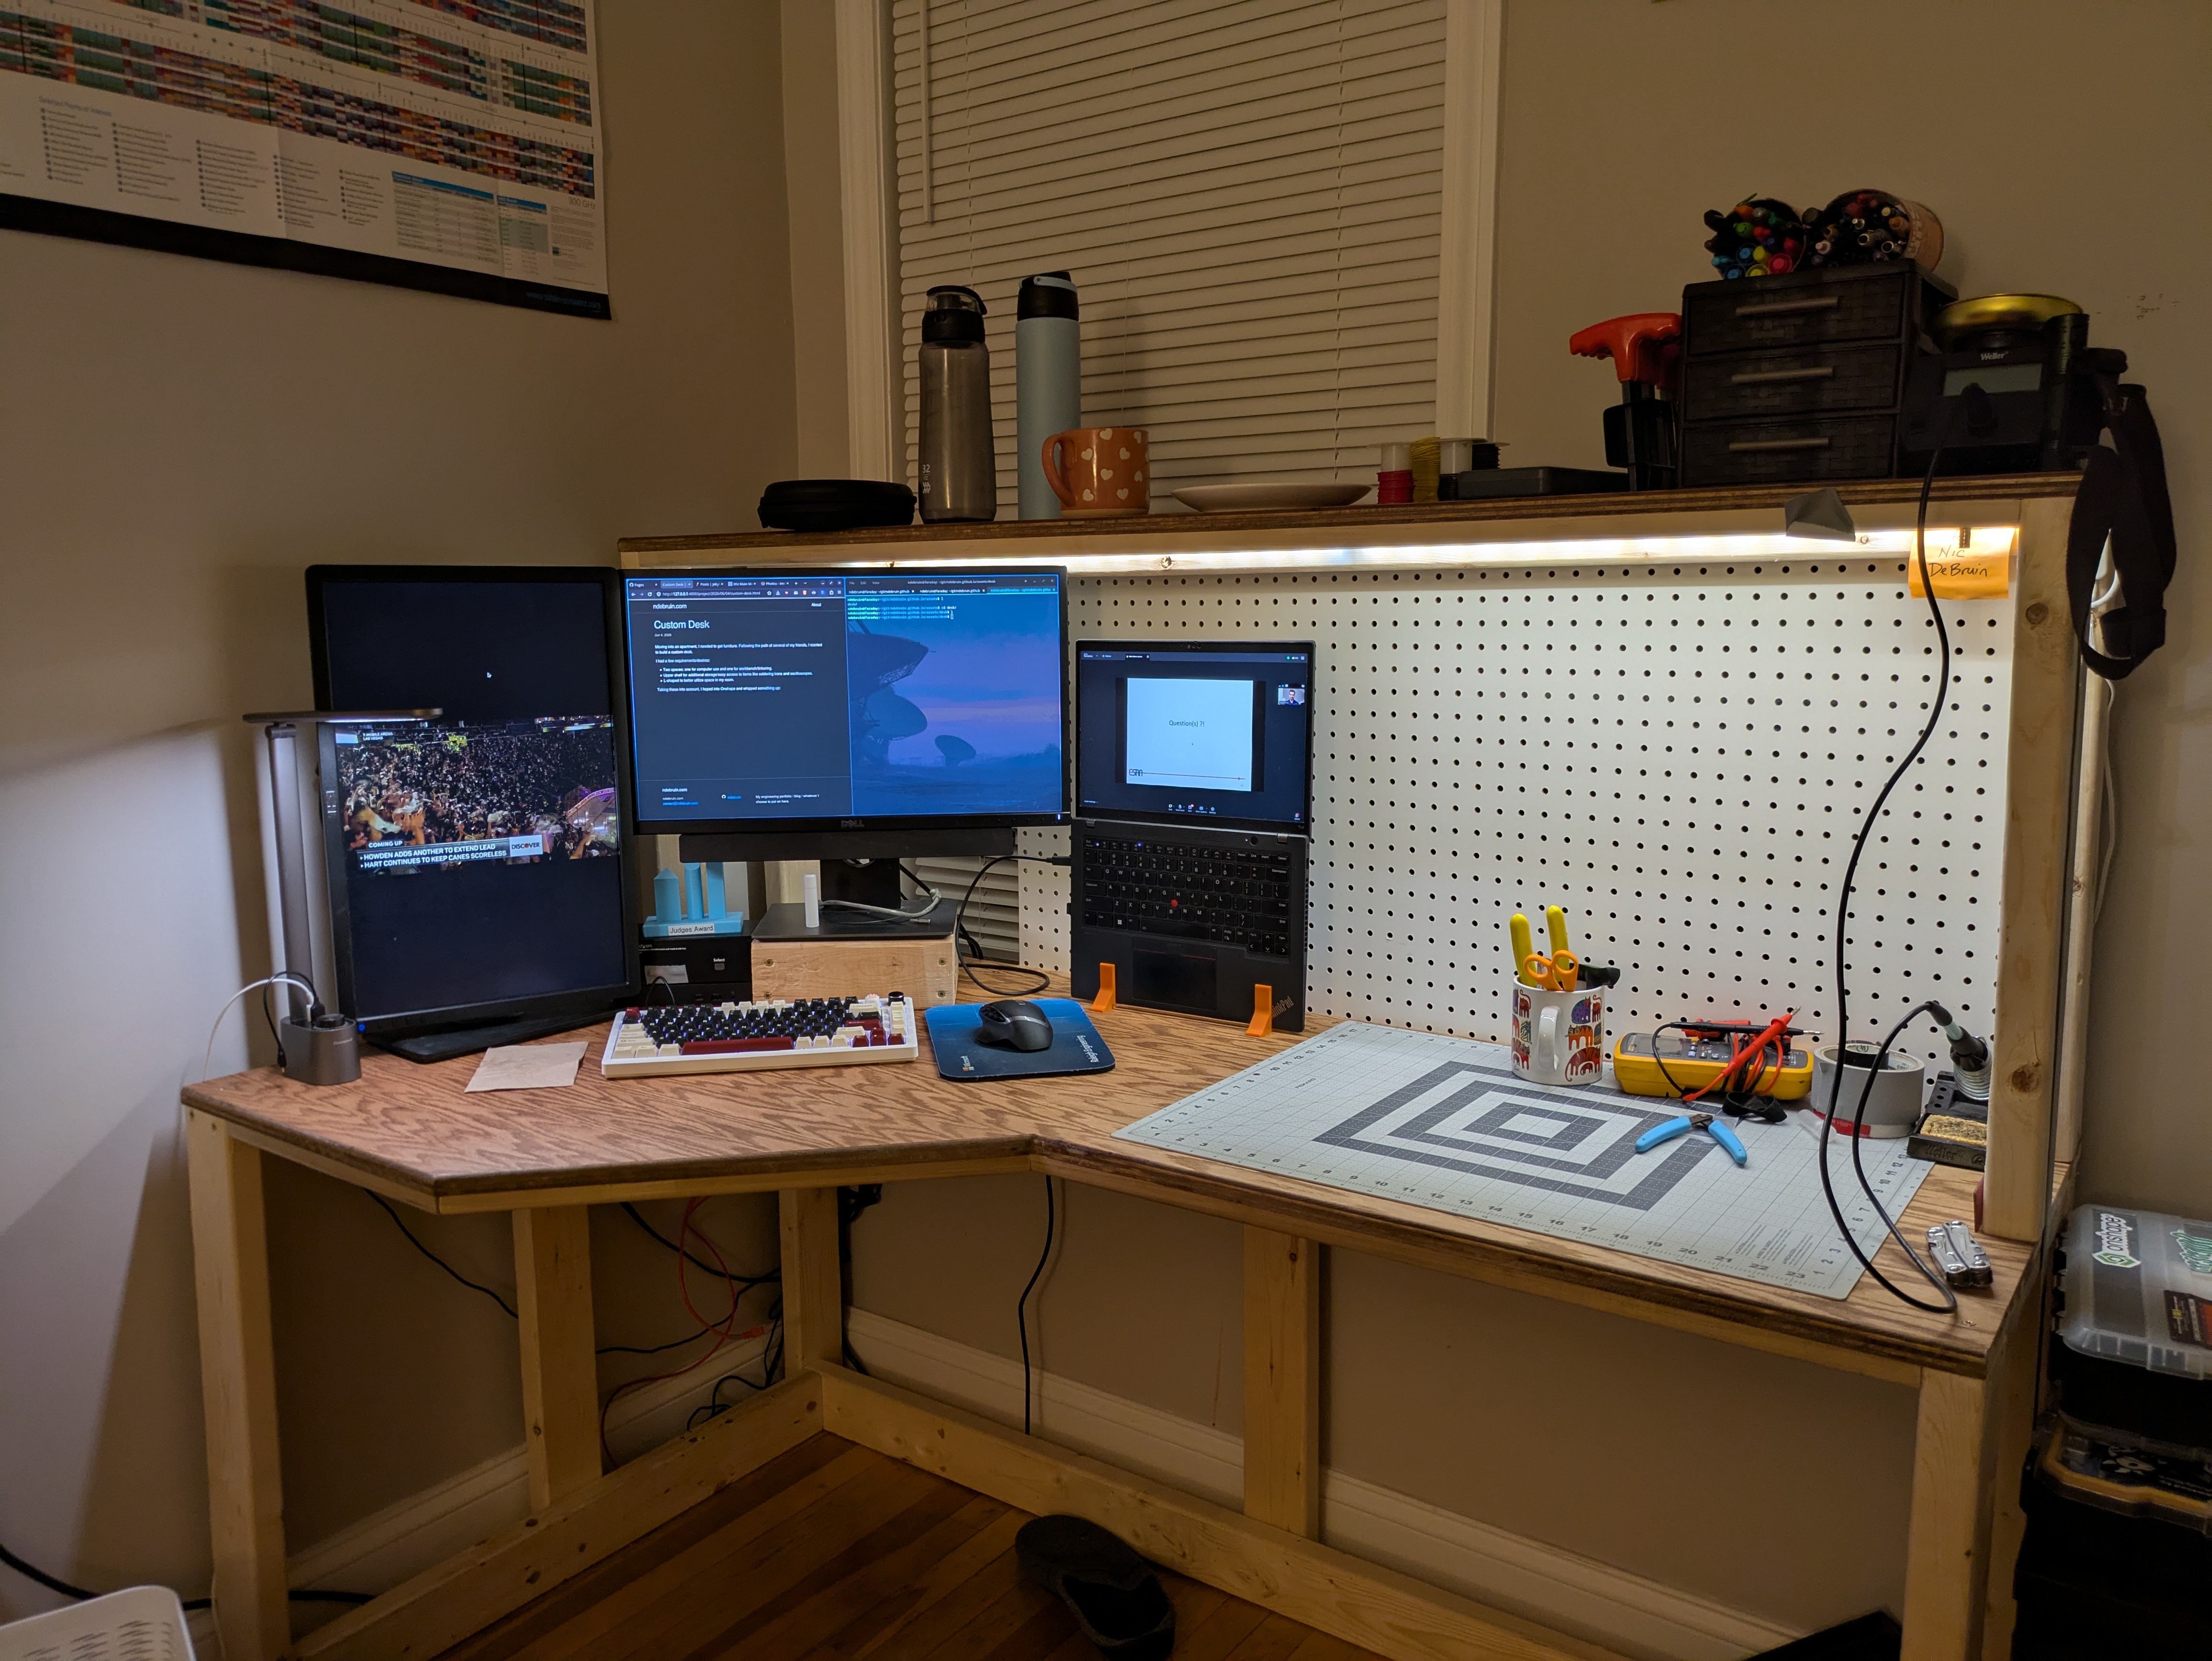
<p>After some computer setup (that’s mostly complete as of writing this), we get the final result!</p>

<p><img src="/assets/desk/final.jpg" alt="Final result." /></p>

<p>Still missing some organization for the pegboard, some more test instruments,
and a shelf below the desk in the back corner for a mini PC to act as a server.</p>

<p>I’m overall really happy with the result though,
and spent a whole lot less than I would have for a similarly sized or quality desk.
<!-- Through some (scary) testing, I've found I can sit on the top shelf without much bending at all! --></p>]]></content><author><name></name></author><category term="project" /><summary type="html"><![CDATA[Moving out of a dorm and into an apartment, I needed to get furniture. Following the path of several of my friends, I wanted to build a custom desk.]]></summary></entry></feed>